|
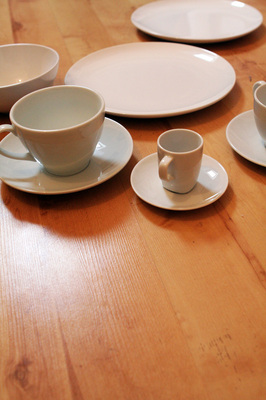
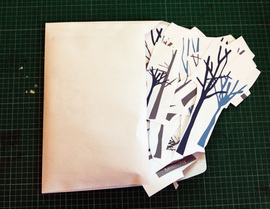
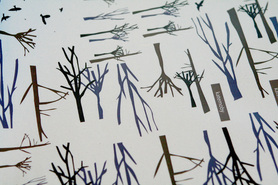
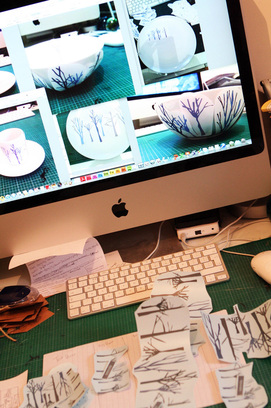
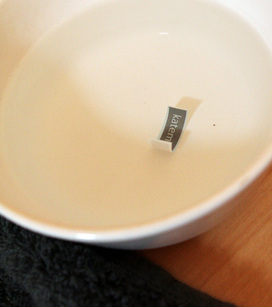
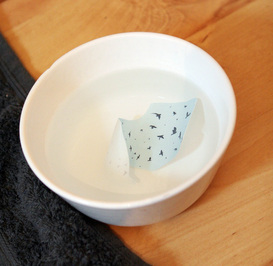
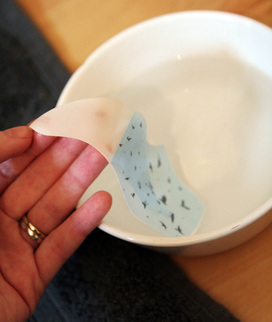
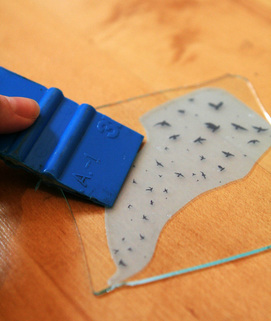
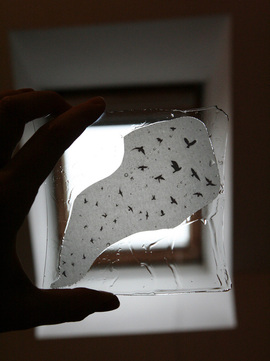
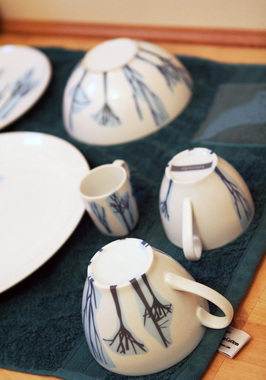
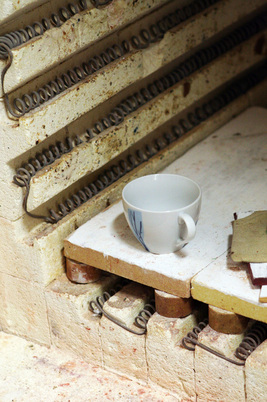
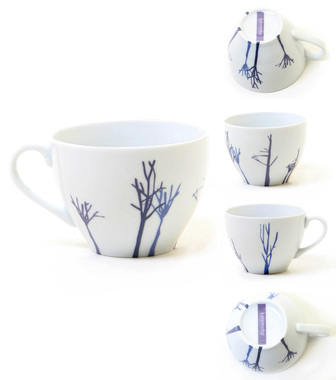
I promised a how-to guide for the teacup I previewed early, so here it is! (If you can't be bothered to read it all, basically you get your pictures printed, get em in water, put em on stuff and get em hot. Not tricky.) Step One Buy your blank ceramics. For test pieces I just bought a selection from a popular blue and yellow Swedish establishment. For my "proper" ones, I hope to get them made by a potter so there are no nasty copyright issues! For home use I'm sure Ikea don't mind. Step Two Decide on your designs. To get my head around this I printed lots of different bits and bobs onto scrap paper and blue tacked them to the china, helpful for 3D thinking! I also had the good sense to take photos on my phone of the different arrangements so that I could remember them all! Step Three Arrange a sheet of your chosen designs. I use a combo of hand drawn work, edited and arranged with Photoshop and Illustrator. Mostly because I'm tight and wanted to cram as much on one A3 sheet as possible! Send your sheet to a digital ceramic printer (like normal printers, but instead of ink the cartridges are full of ceramic toner.) I used these guys, mainly as there were no minimum order requirements. If you happen to find a brilliant one, please let me know! Sometimes the transfers are also called ceramic decals, incase you're not finding what you need. Step Four Using a pair of scissors or a scalpel, cut out all your lovely shapes and pictures. Here the earlier phone pics came in useful to remember which shape went with what item. If you're more of a "let's just see what happens" kind of crazy individual, you could always wing it and see what you come up with! Step Five Put your transfers one at a time into lukewarm water. They curled up, which slightly alarmed me, but thankfully not in the manner of cling film (which I'm pretty sure hates me, but that's another matter...) Leave them about 20 seconds, and the backing paper should start to separate from the actual transfer with the lightest rub. They seem fairly robust, but I wouldn't throw them around. Step Six Using a combination of a dry tea towel and a squeegee, put your transfers onto your chosen piece (I thought I'd be a renegade and see if some worked on glass. Turns out, yes!) The aim here is just to get rid of all the air bubbles and creases, as this will affect your final finish. Step 7 Once all your transfers have been put in place and flattened properly, leave them to dry for at least 6 hours, but ideally overnight. Don't touch them. No, not even a little bit. The blue around all the images was just the colour of paper from my particular ceramic printer - it burns up without affecting the final image, phew. Step Eight Find a friendly potter with a kiln that they don't mind you sneaking pieces into for a small fee:) I can recommend local art colleges like here for this, good luck in your search! I ran several test pieces to fine tune the temperature required, but most transfers come with firing guidelines. Step Nine
Wait till the kiln is cool enough to break in and fall in love with just how cool your pictures look on ceramics. It's addictive, I warn you!
2 Comments
Alison
17/3/2018 02:03:05 pm
Hi - so glad I found this. I have been making one-off collages on plates (also from said shop - but I paint the reverse black before varnishing). Its very time consuming so would like to make limited editions of each plate. I would send you some pics of my work but I dont think I can upload on here. Anyway, I just wondered how much the printers charge? Love yr work btw!
Reply
Hi Alison,
Reply
Leave a Reply. |
Archives
April 2024
Categories
All
disclosure
If my blog links take you to external websites, I may be receiving a commission for sharing these products. However, please know that all my reviews are my own thoughts and a true representation, and I would never share anything that I wouldn't or haven't personally used or enjoyed.
|

 RSS Feed