|
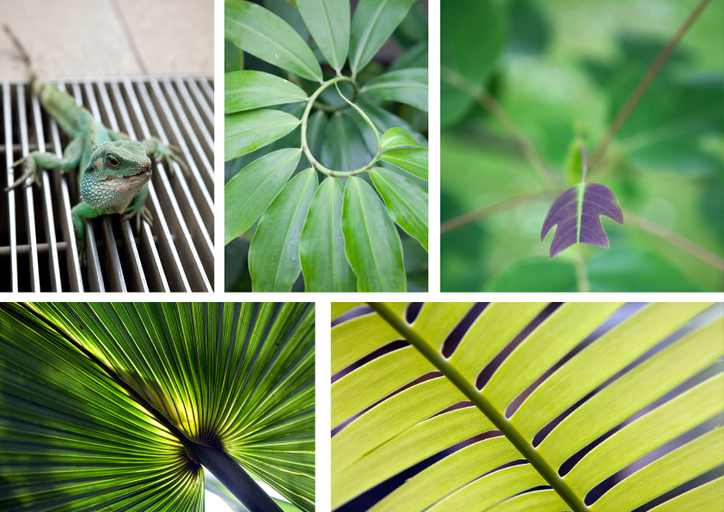
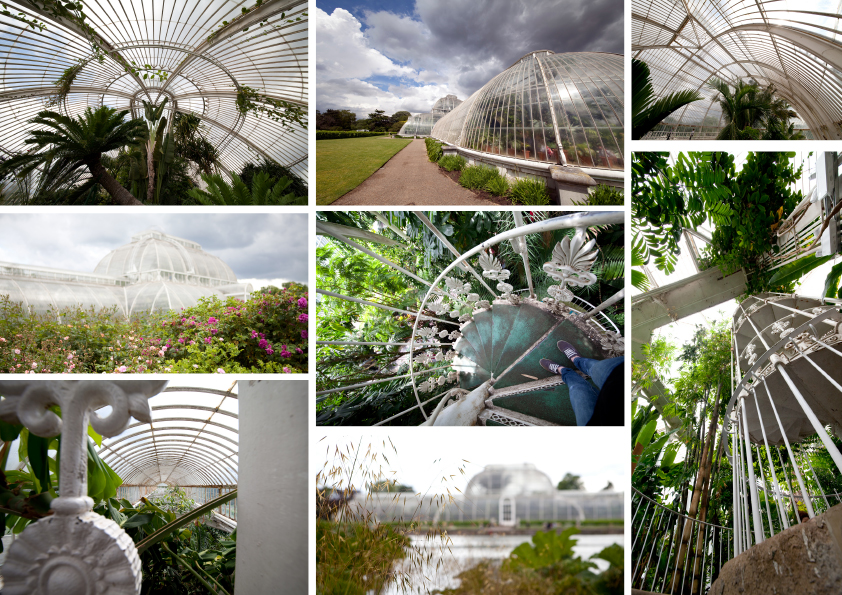
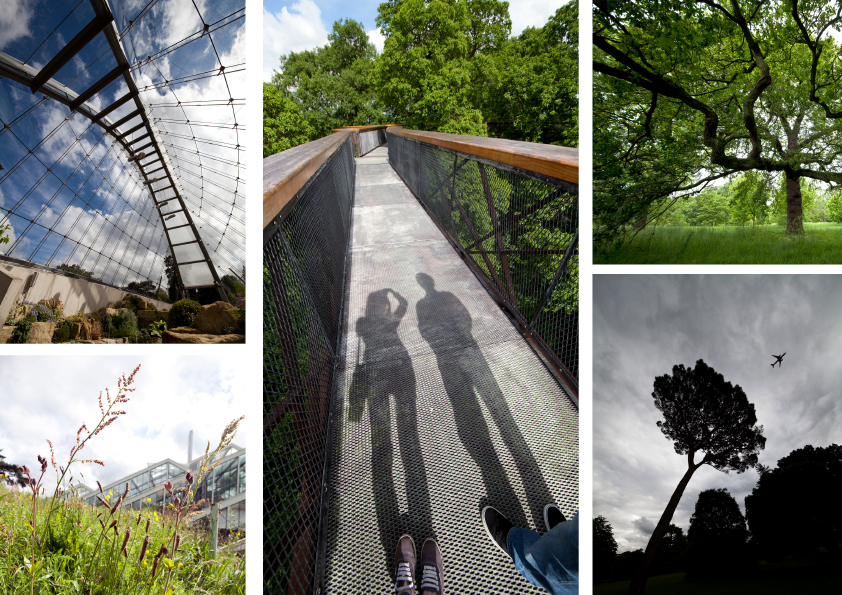
It's been on my "to visit and photograph" list for a long time, and was the perfect opportunity to try out my new wide angle lens. A Victorian tame rainforest, prancing peacocks and a tree top walkway - what's not to love? It was a wonderful day (storm sheltering in deserted glass houses included) and gave me lots of inspiration for new designs! Watch this space... Just a few photos from the day below, I tried and failed to be restrained! Neil and I shared the camera, so if you think any of the photographs below are outstanding, they're probably his. 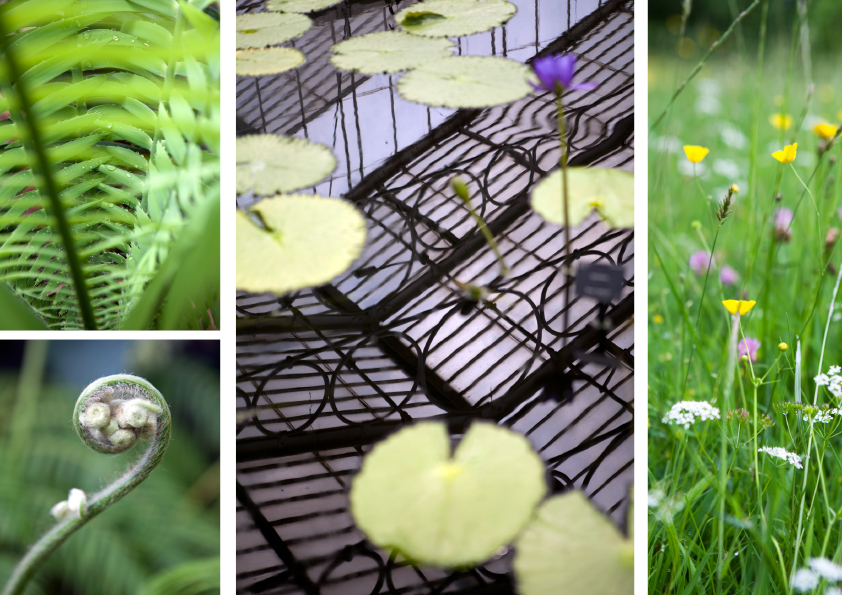
0 Comments
A beautiful Cypriot holiday villa wanted a new logo incorporating olives/greek pottery and a general mediterranean vibe. As per usual I created a range of options and left it up to the owners to decide which they preferred as a final. 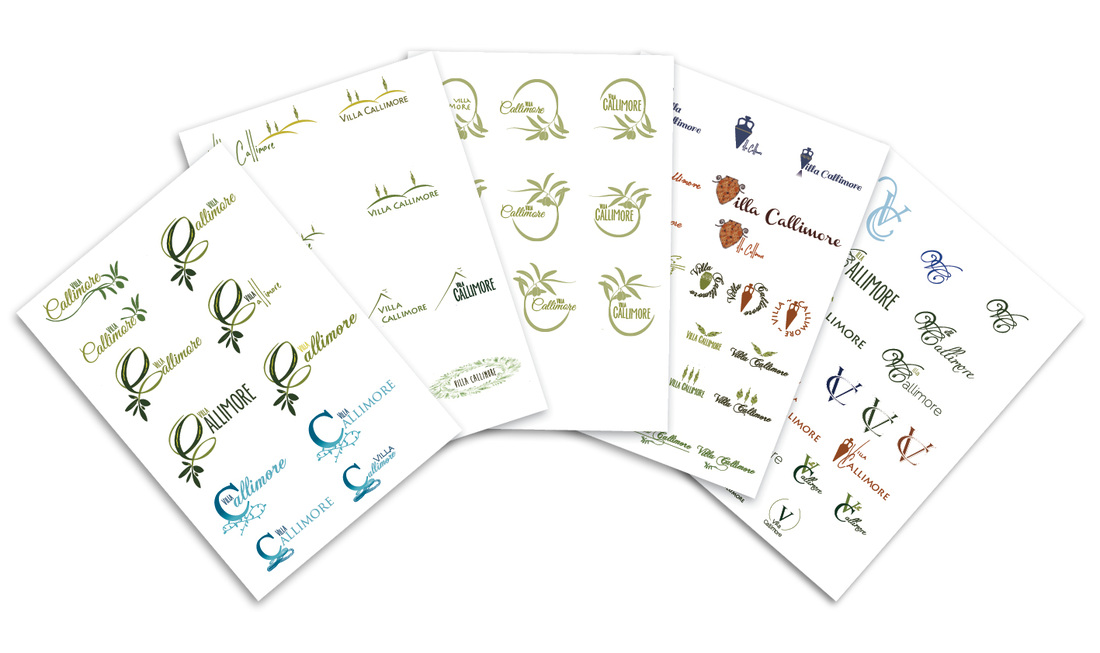
Right, it feels like holiday o'clock now, get me on a plane!
Last year I had the super fun task of creating some wedding Save The Dates for a bride getting married in a South African Elephant park. How. Cool. And now it's invite time! As is always the way, firstly I created a range of options for the bride to choose from. (Let's be honest it's the bride and not the fella.) The brief was modern-vintage, maybe with greens and doilies. 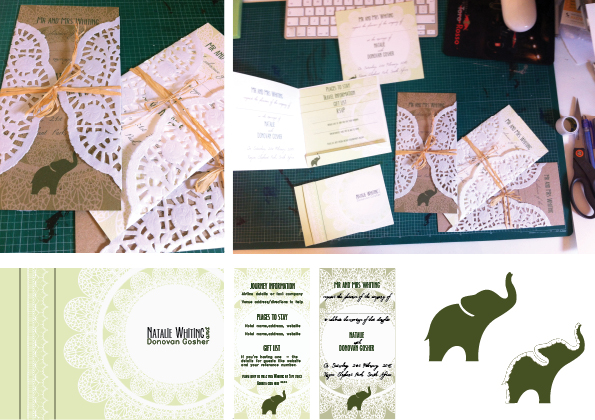
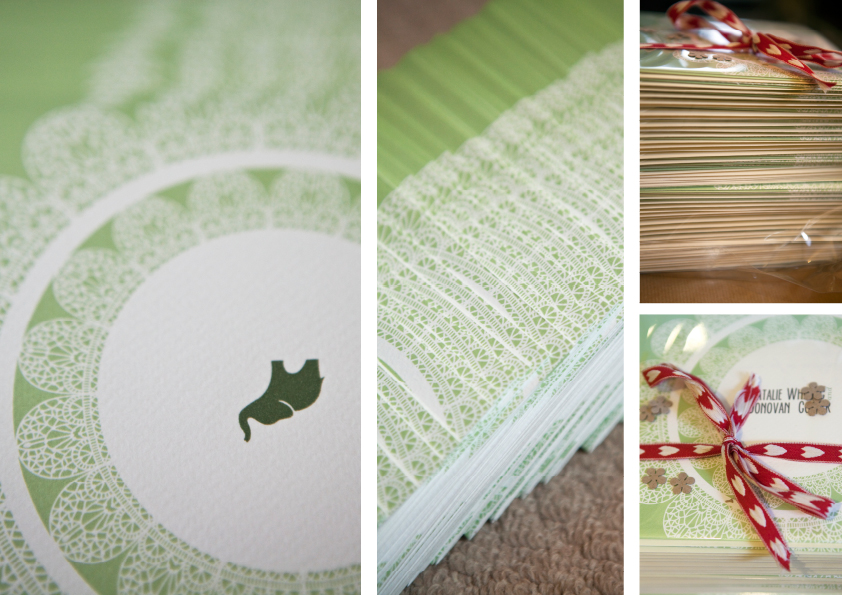
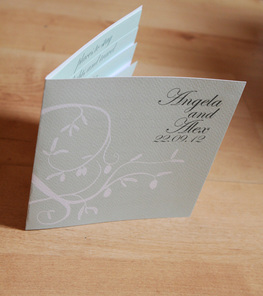
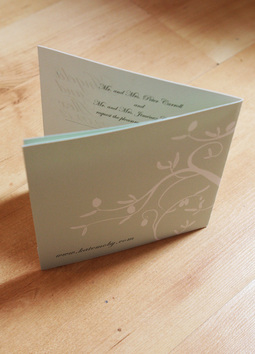
Once a choice had been made and details finalised, I set to work! 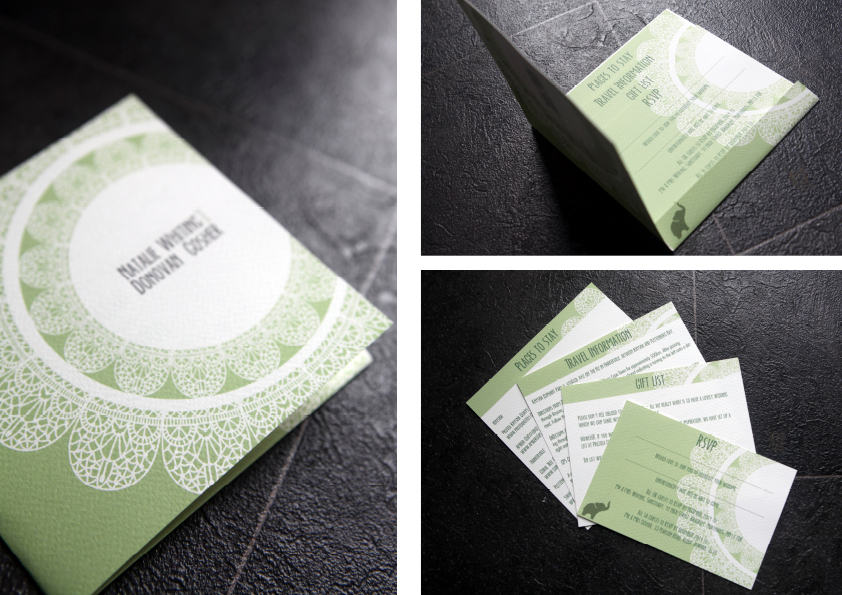
If you have any wedding requirments, large or small, please get in touch.
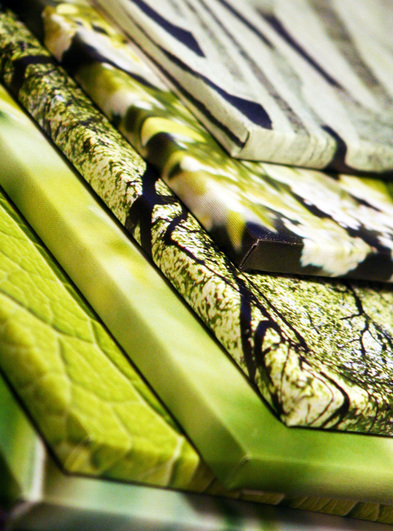
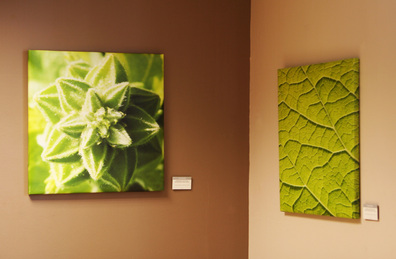
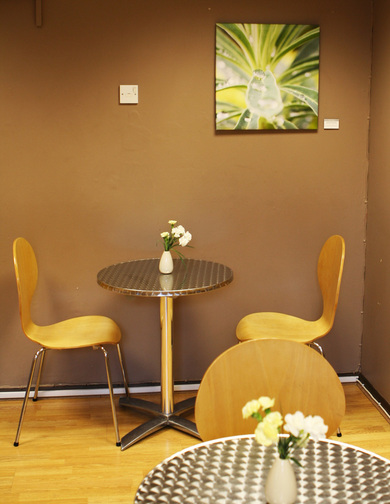
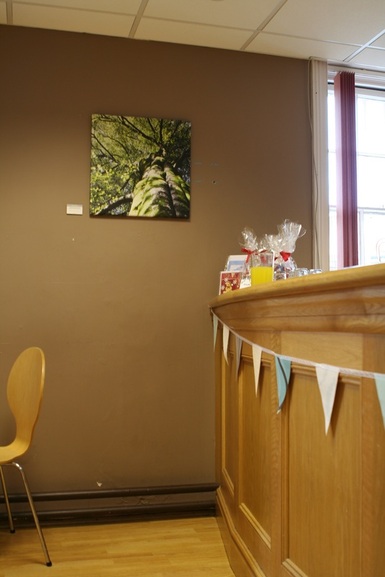
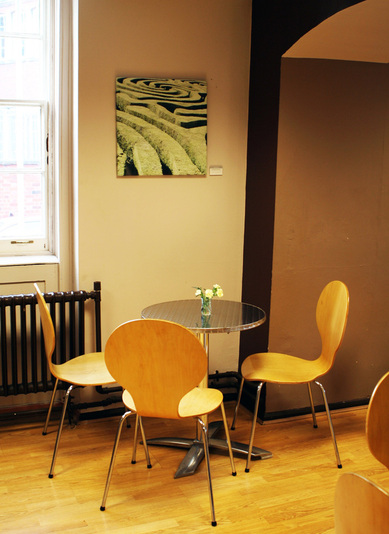
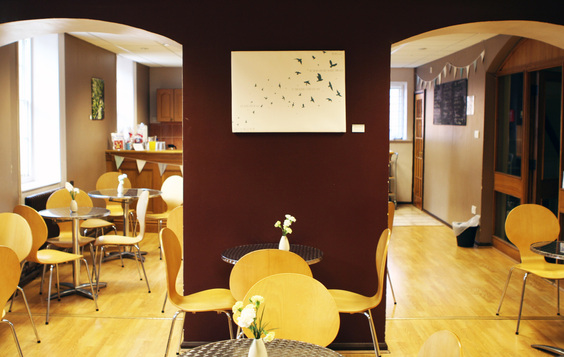
One of the most serene commercial photoshoots I have done so far! Walford Timber, who unsurprisingly specialise in beautiful timber garden products, wanted me to shoot their new ranges for their catalogue. So for a beautiful sunny day, I wandered around the most picturesque garden, taking photographs of sheds and arches and planting boxes. If only all my shoots were so relaxed! Check out that view...  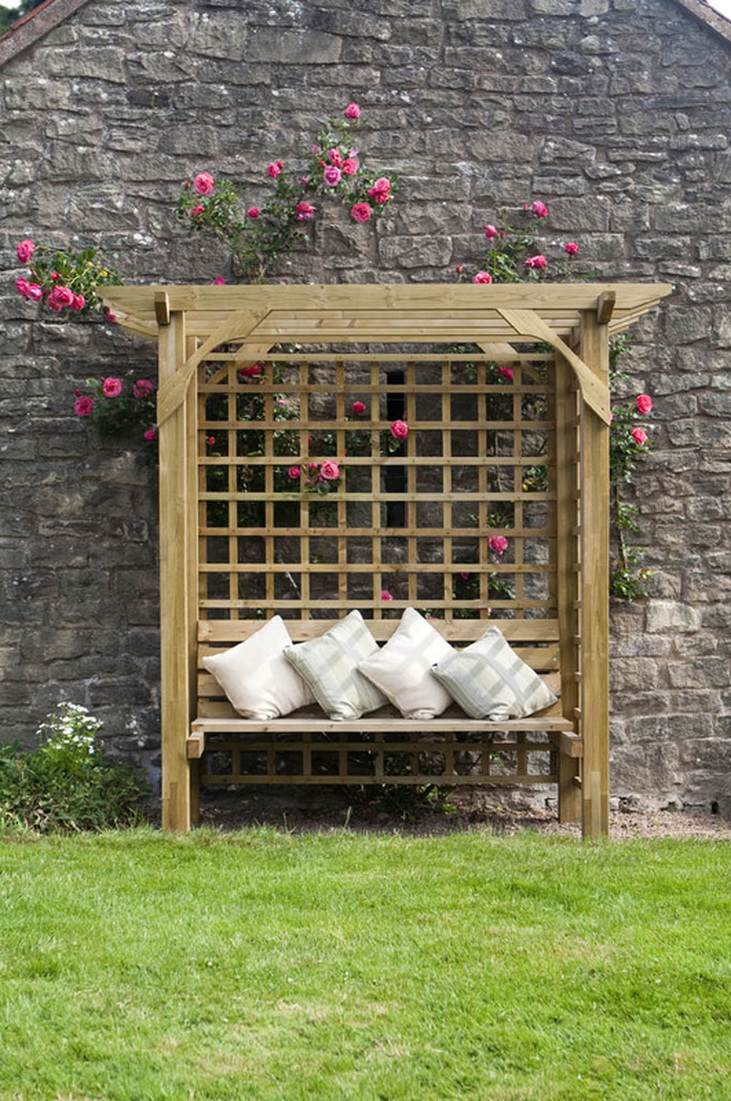 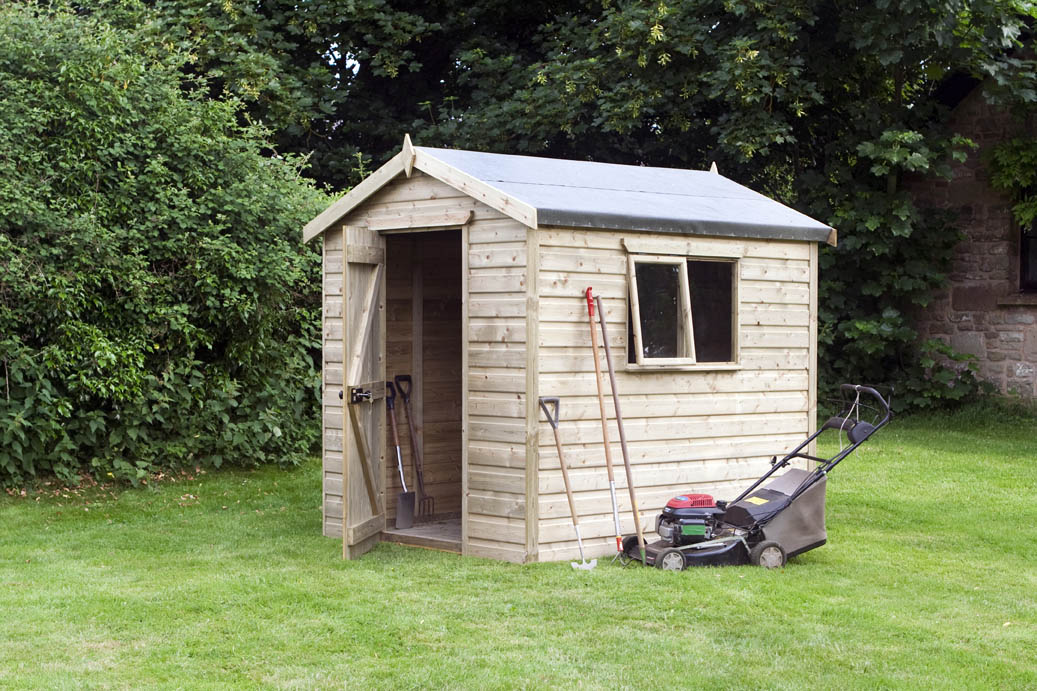 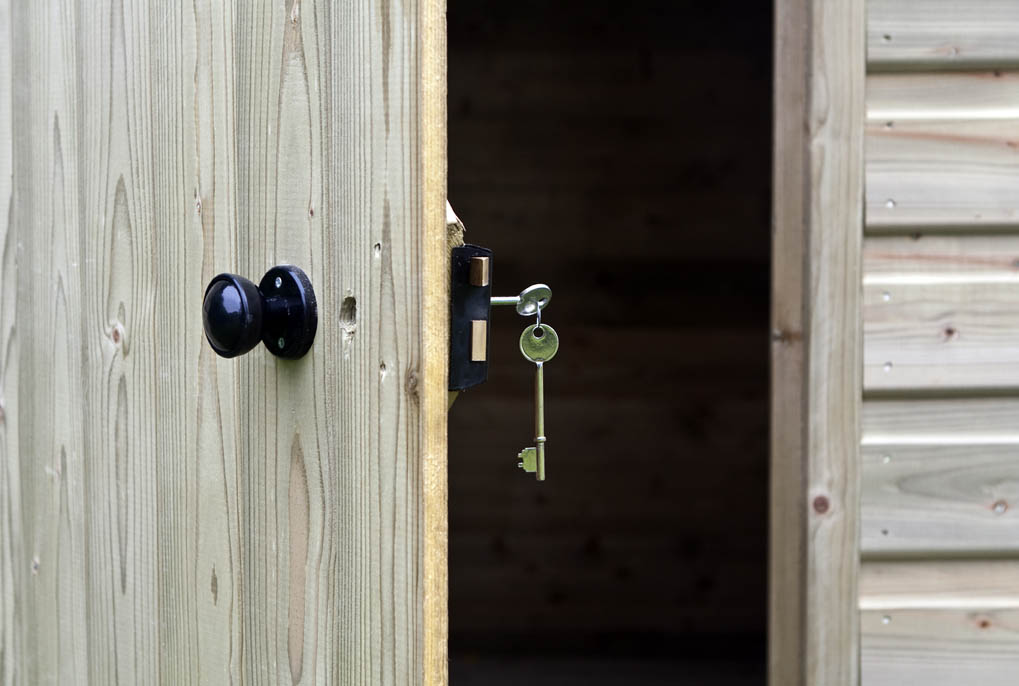 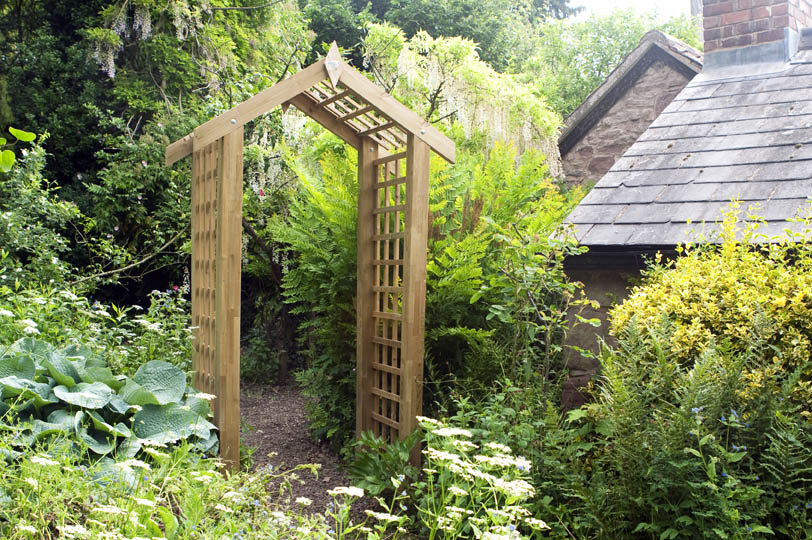 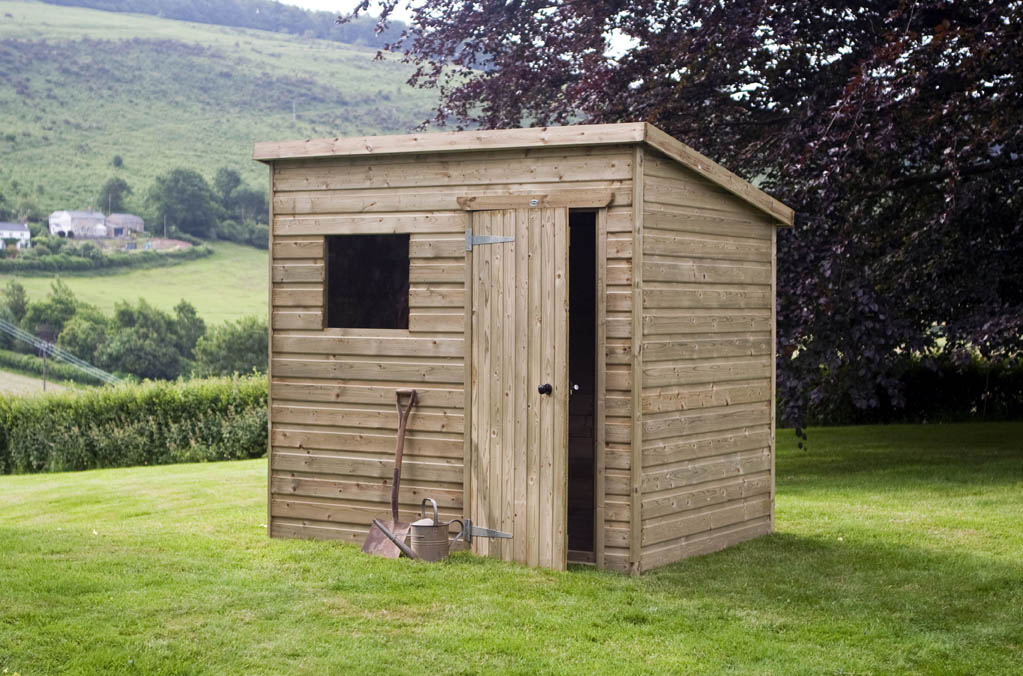 I've just come back after a week of rural enforced radio silence in beautiful Springtime Cornwall. Part of the reason for the trip was to teach a Food Photography Workshop for The Hedgecombers, which was great fun. The rest of the time was spent soaking up the sun, beach bbqs of steak and roast veg, surfing, visiting a captive rainforest (less mosquitos than the Amazon - win!) and generally unwinding. Oh and a touch of sunburn. I know I'm sufficiently pasty, no pun intended, to singe in April, yet it takes me by surprise every year. The Hedgecombers had this to say about it: Thank you! Thank you! Thank you! SO much for yesterday! It was just what I needed, and I feel so much more in control of my camera and pictures now. Your teaching style is awesome, and you clearly know & understand your subject perfectly, as you can put it across in real simple terms. Thanks again Kate xx If you have any workshop requirements, drop me a line - I love a one-to-one learning sesh! 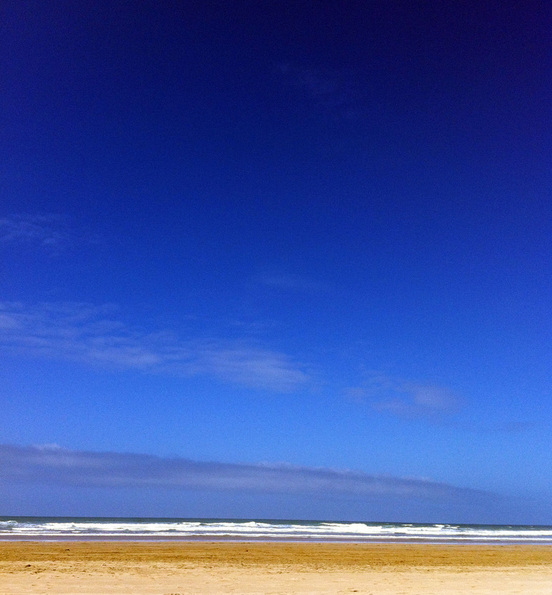 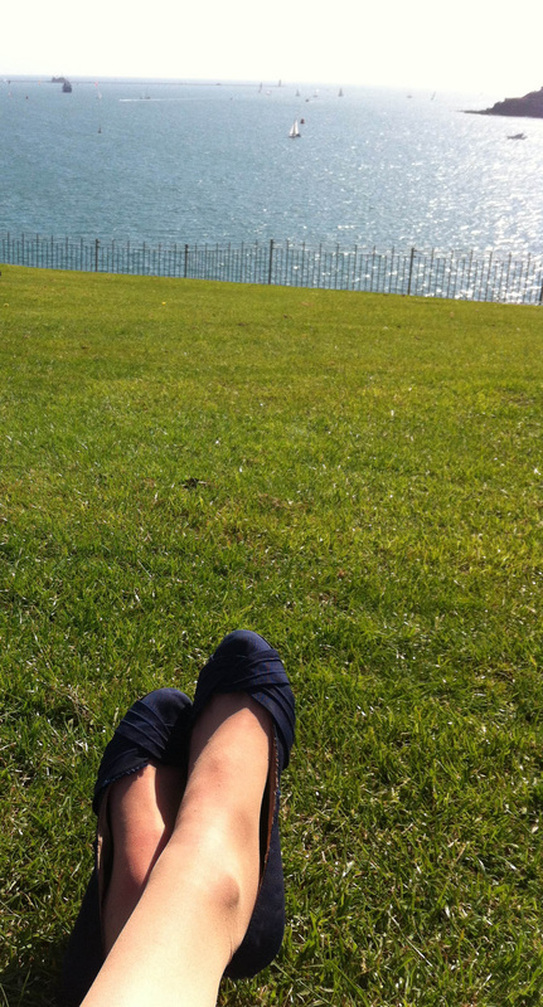 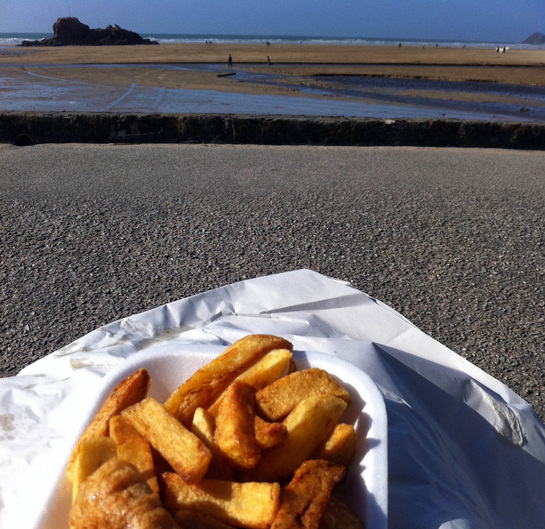 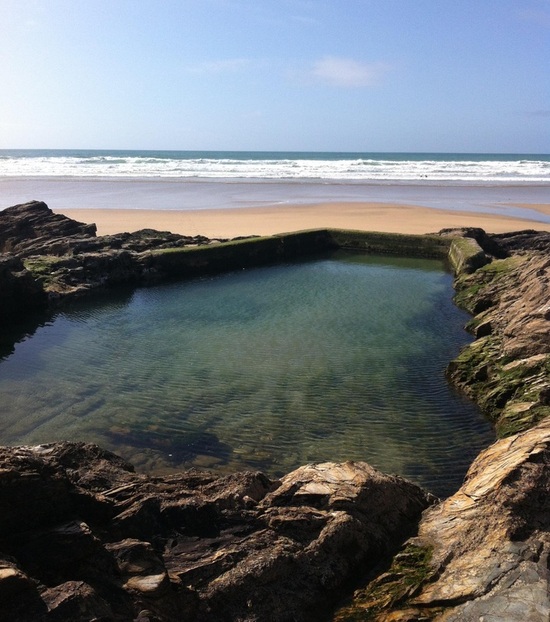 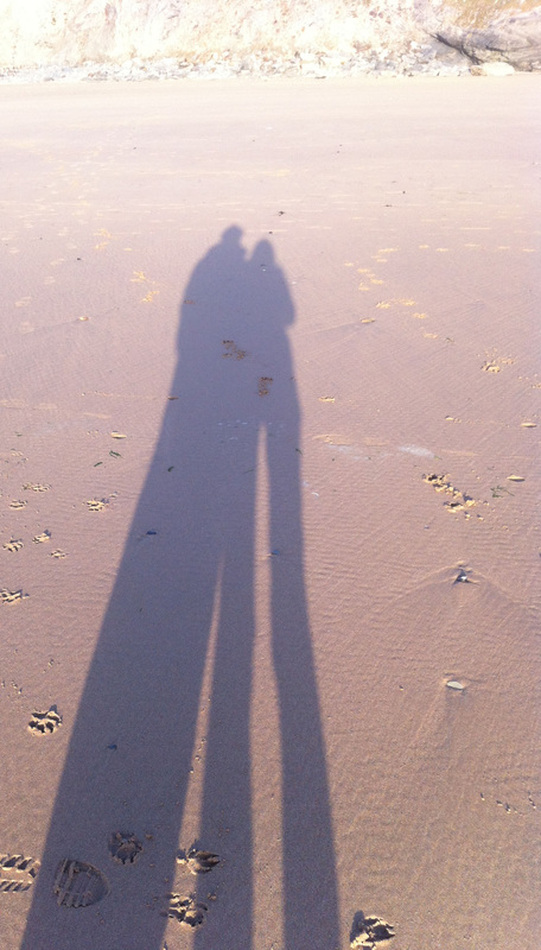  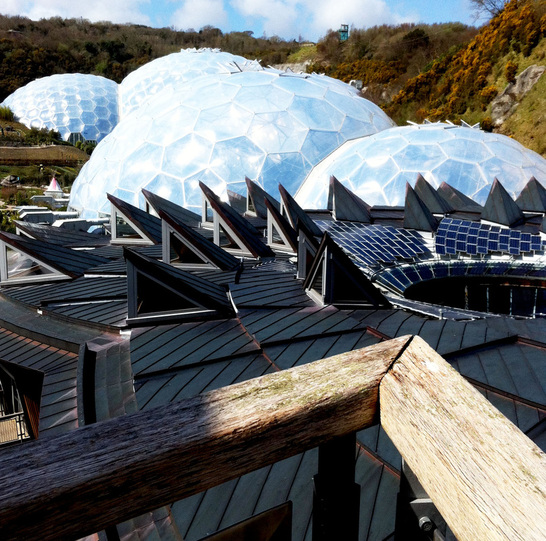 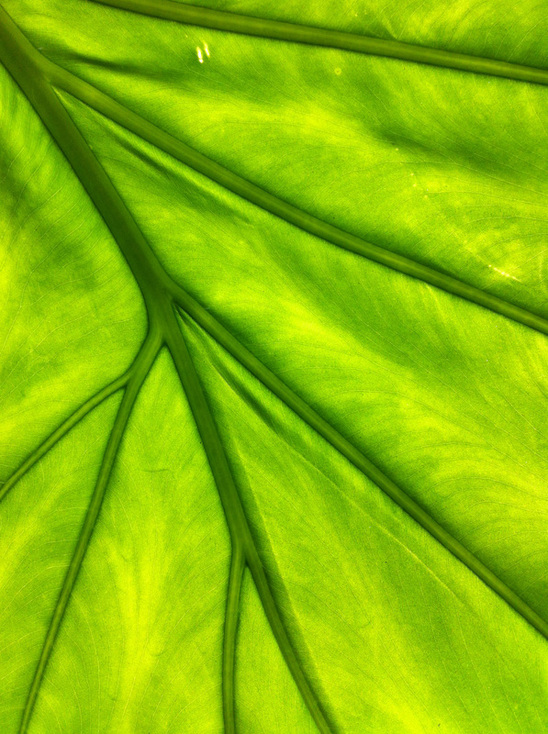  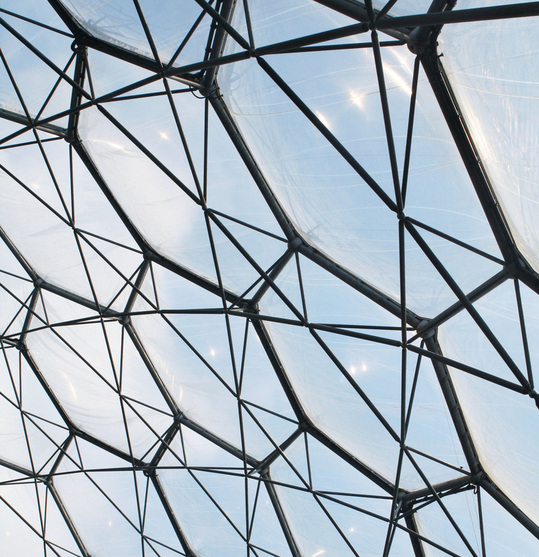  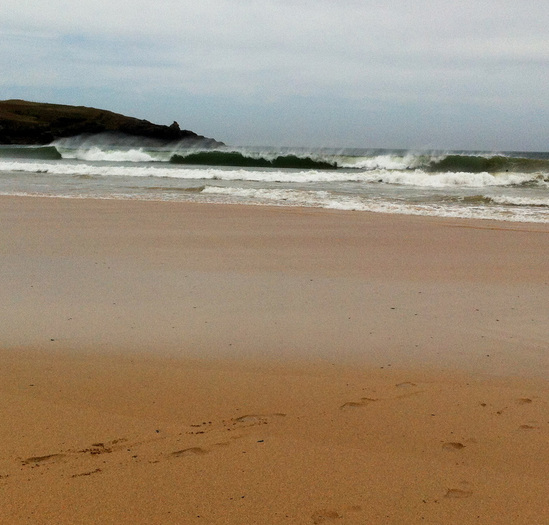 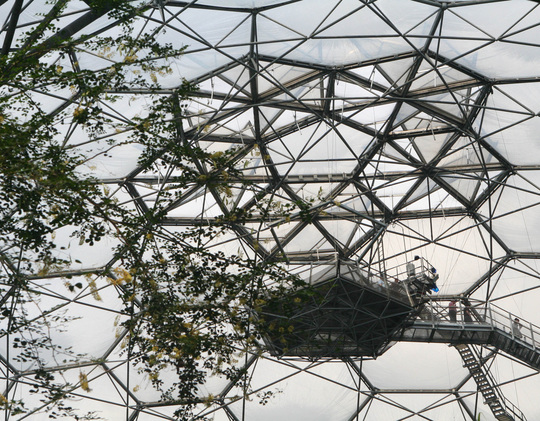 I was asked by these lovely people to design a matching range of photographs for their cafe. I've been itching to try out printing onto canvas for a while, courtesy of Iain Lilleystone, and had great fun making the wooden frames with my wonderful Daddio to stretch them over. I went for a green theme, and am rather chuffed with the final outcome, hopefully they are too! See them for yourself and let me know what you think! 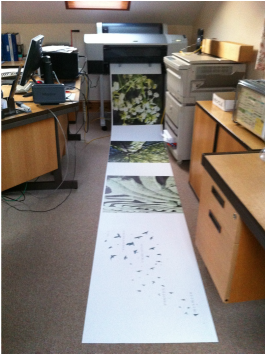
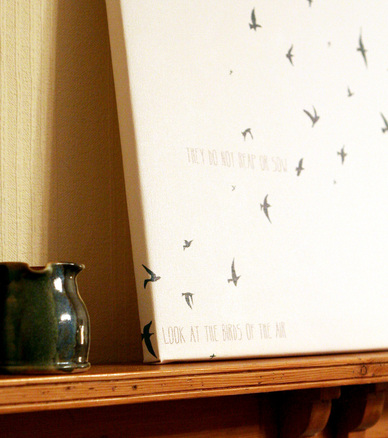

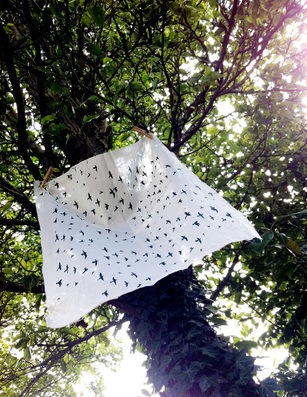 I've been toying with the idea lately of developing some fabric and ceramic ranges, which would showcase illustrated surface pattern. I came to the conclusion that to make it look the tiniest bit convincing, I'd have to figure out a reliable screen printing method to make a few samples... So I did a bit of internet trawling and thought I'd give it a go! Step 1 - Decide on your pattern I scrawled a few designs down which varied in complexity and size so as to work out what the limits of home screen printing might be... Step 2 - Cut them out of acetate Depending on how handy you are, a scalpel or scissors might suit you best. For me, scissors are my friend. I also read about other methods of creating your "stencil" - painting PVA glue or latex paint onto organza (the same organza as Step 3.) If you try any other methods, be sure to let me know how it goes! 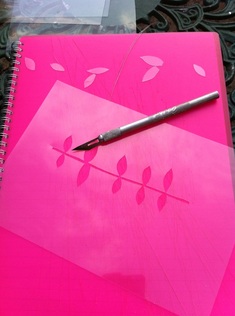 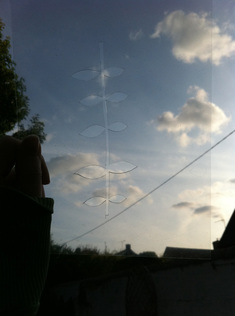 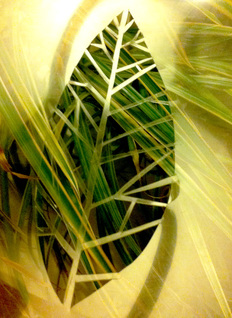 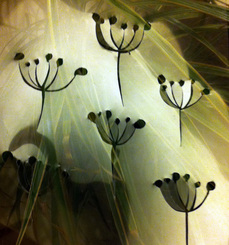 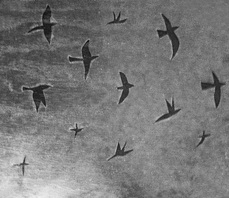 Step 3 - Make your screen I bought an embroidery hoop that was larger than all my designs, and some organza fabric from the wonderful people of Bicester Village Fabrics who couldn't have been more helpful! I put the organza into the embroidery hoop and secured it so that it was tight as a drum. You could also buy a picture frame from a charity shop and staple gun that bad boy. I went for the hoop for size and adjustability reasons (also, if it was a horrible failure I could just take the organza out and bury it.) Again, let me know if you try other methods, I'd love to hear from you! Step 4 - Attach your acetate to your screen. Using sellotape, I attached my acetate to the face of the screen that would be between the organza and the fabric/paper/glass you want to print onto - i.e. the face where the organza is flush to the wooden hoop. I then filled in all gaps around the acetate with sellotape so that there was no chance any pesky ink could get where it wasn't wanted. 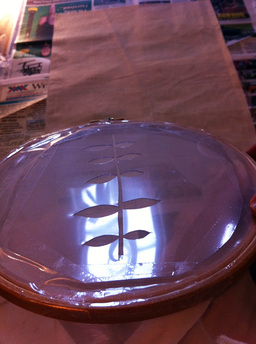 Step 5 - Print like a machine. Putting your prepared screen onto the surface you want to print onto. For me this was pieces of cloth like calico and cotton. Keep your screen still, whether this be by weights or a friendly pair of hands. If it shifts whilst you're printing you'll get a smudged or echoed image. Bad times. Using fabric paint or whatever you fancy trying, put a small line on the acetate above your design. Using an old credit card or other kind of spreading device, pull the paint down firmly - it should get through the holes in your acetate and nothing else, leaving a perfect stencil! Repeat as desired and absorb the adoration. Then clean up. 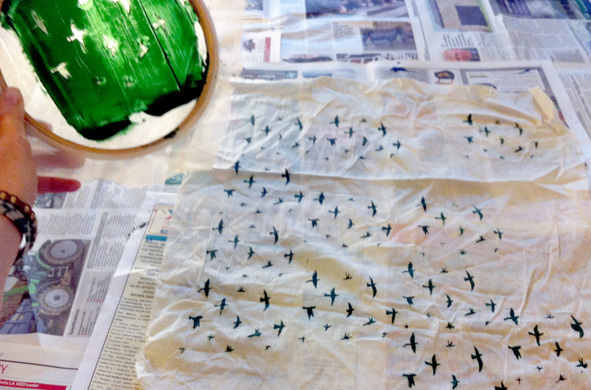 A few notes: If you're doing a repeat pattern where your hoop will cover over previously printed areas, be careful to let it dry first or you'll get a smudgy mess. For my first take I used Dylon fabric paint, which I found to be too runny and seeped under the stencil. I had best results with standard Acrylic paint, which I ironed once dry to set (in between some old sheets so that my iron didn't go green.) I'll let you know if it is wash proof! My bet is yes, I can never jolly get it off my clothes when it's got there by mistake! I think that I'll invest in some proper inks soon, probably from these nice people. If you have a go at this, I would love to hear from you! Happy printing! 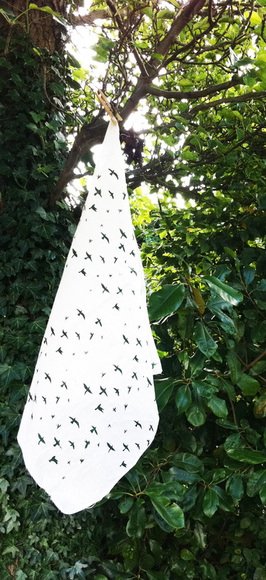 It was my pleasure to create a bespoke set of wedding place settings fitting with the lovely bride's colour scheme of sage green. She wanted perched birds to sit prettily on wine glasses. Much scissor action later... 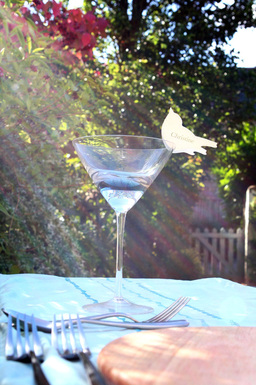
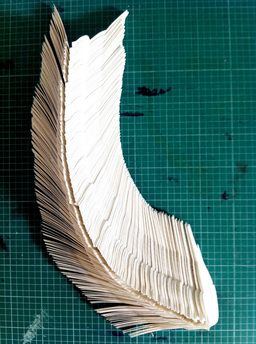
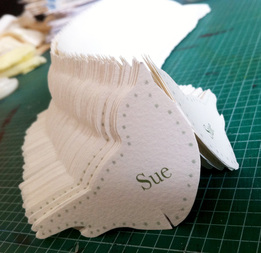
If you have any bespoke wedding needs I'd love to hear from you! I'm also thinking of packaging some sets up and testing the waters on eBay, any thoughts..?
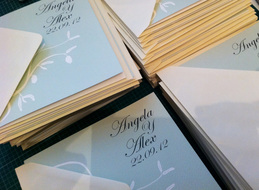
A lovely bride had seen some of my wedding stationery here, and so sent me an email asking for more of the some! As she needed a lot of information included for an overseas wedding, she thought my designs were perfect. I started by sending through some mocked up designs (as I always do) with an Olive tree as the theme. 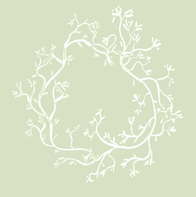
After some consultation, this became the below image, which the bride approved. Once all the info had been confirmed, I started making! A lovely way to wrap up the year. 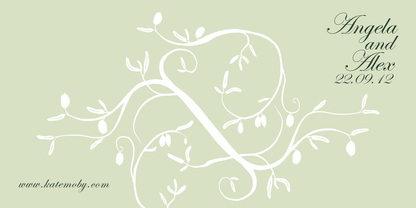
A bay tree needing pruning. I dried the leaves and gave them out as culinary gifts. Nothing particularly design orientated about it, but I felt like a "how to" feature in some kind of lifestyle magazine. A posh lifestyle magazine. 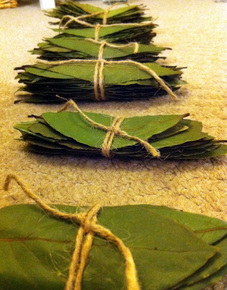
|
Archives
April 2024
Categories
All
disclosure
If my blog links take you to external websites, I may be receiving a commission for sharing these products. However, please know that all my reviews are my own thoughts and a true representation, and I would never share anything that I wouldn't or haven't personally used or enjoyed.
|
 RSS Feed