|
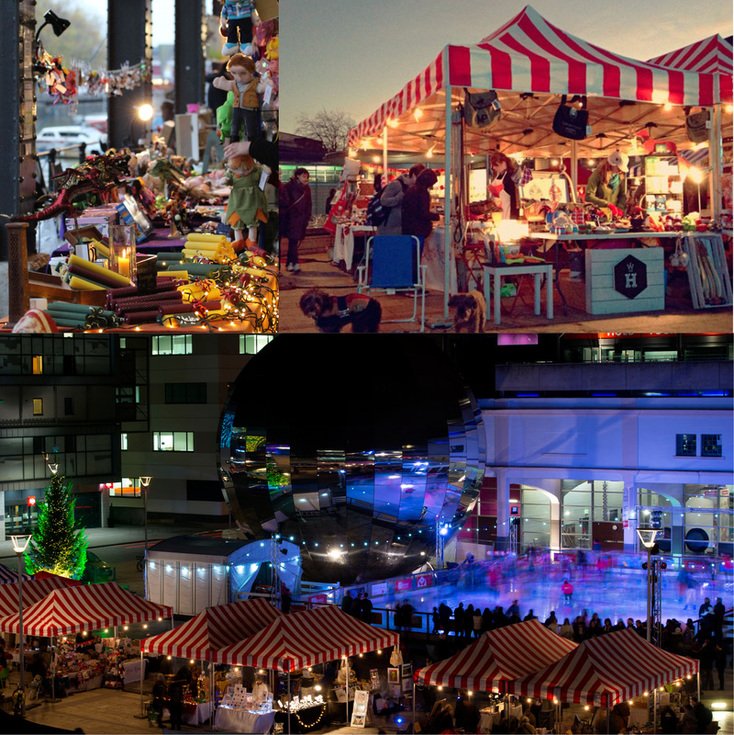
Next weekend, I'll be taking part in this fab Bristol market! Pop down, say hi and browse some beautiful design-led gifts. It might be the weekend of Black Friday, but rise above the high street craziness and support small. I'll be attending: 28th-29th November 11am-5pm 12th-13th December 11am-5pm You can see all the event details here. In their own words:
Get ready for Bristol’s biggest independent Christmas market! It’s a FREE event and a perfect day out to bring your friends and family. On November 28th we are launching an action packed Christmas market, bringing you up to 100 brilliant stalls, a programme of live music, mulled drinks, entertainment, comfy seating with cosy blankets, fire pits, live art from Upfest, a special guest from Aardmann Animations and much more… Not to mention the real ice Ice Rink, brought to us by At-Bristol Science Centre in Millennium Square. The market runs along the Bristol’s beautiful waterfront, from the cascade Steps (by the Watershed), through Anchor Square (next the Aquarium) and around the Ice Rink in Millennium Square. At the heart of the market is our brilliant traders, the best local artisans, creators, designer-makers, producers, street food and experiential stalls. Finally don’t forget to get your skates on and visit Bristol city centre’s With tickets starting from £5 and discounts available on At-Bristol and Ice Rink tickets, the Harbourside really will provide a whole day out for all the family! Images courtesy of the organisers, ta very much.
0 Comments
A few months ago, I carried out some branding work for a new company (one of my favourite types of work - I love how many people now are stepping out bravely and making it happen for themselves!)
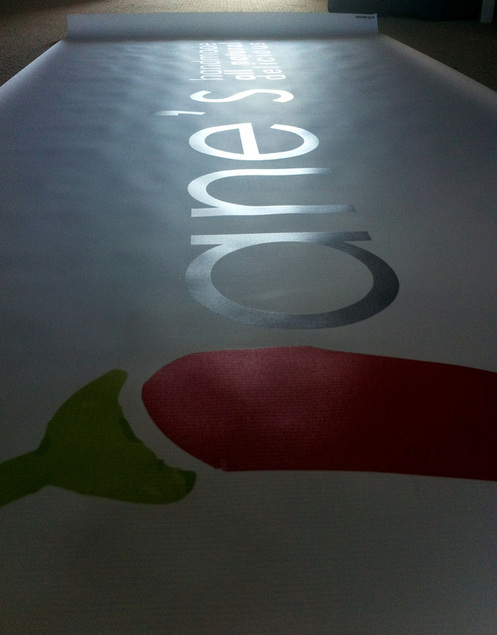
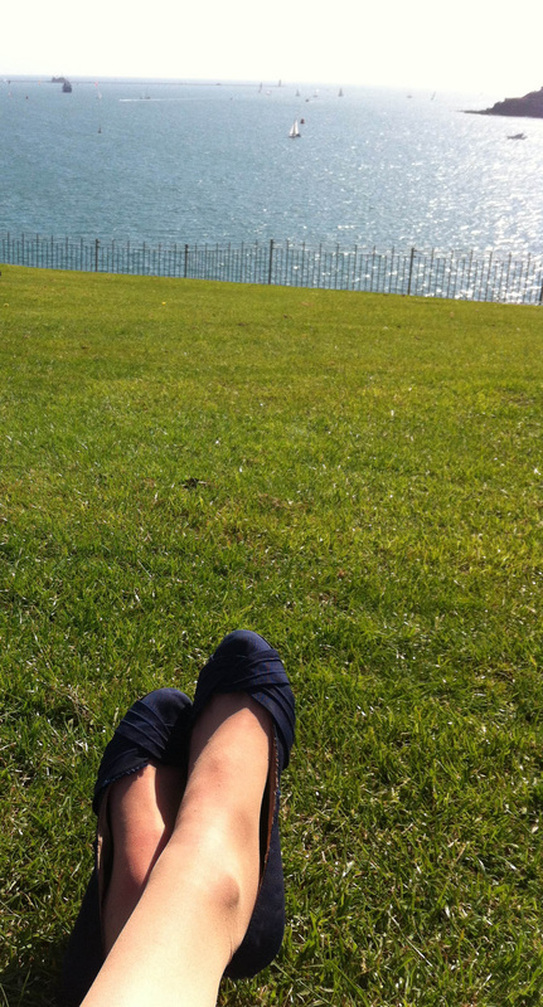
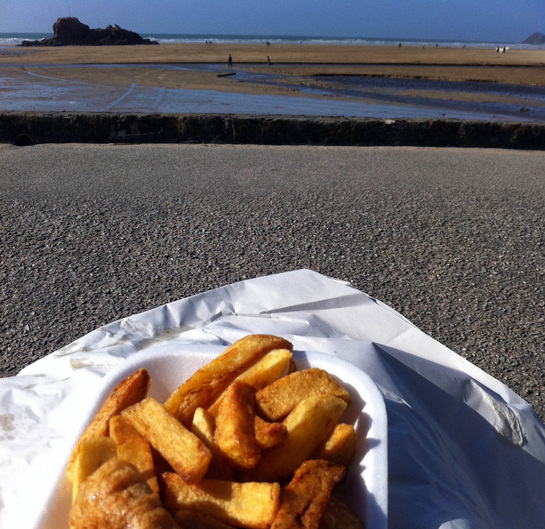
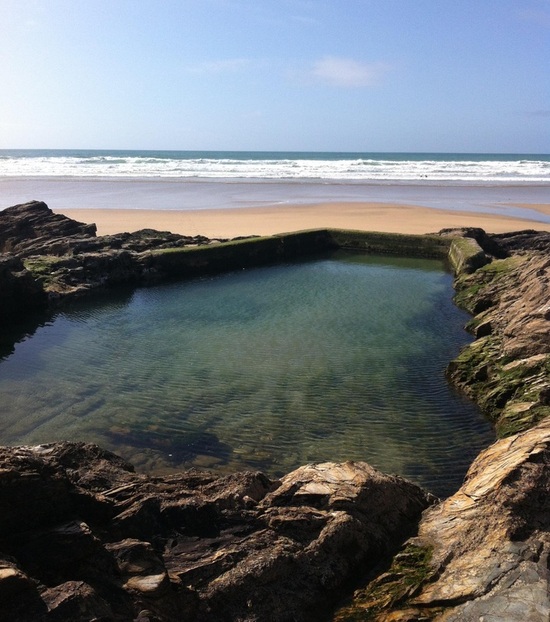
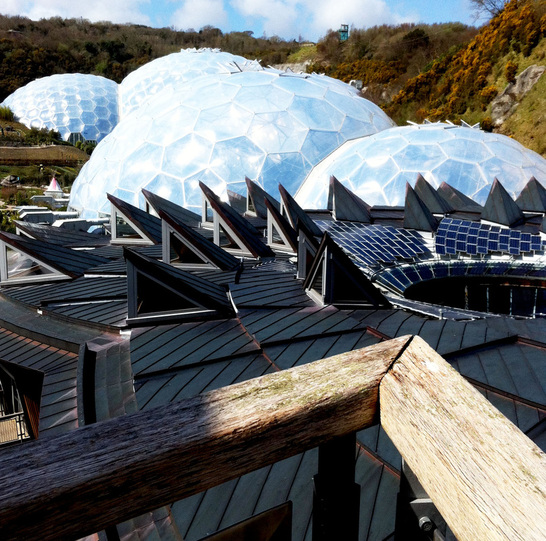
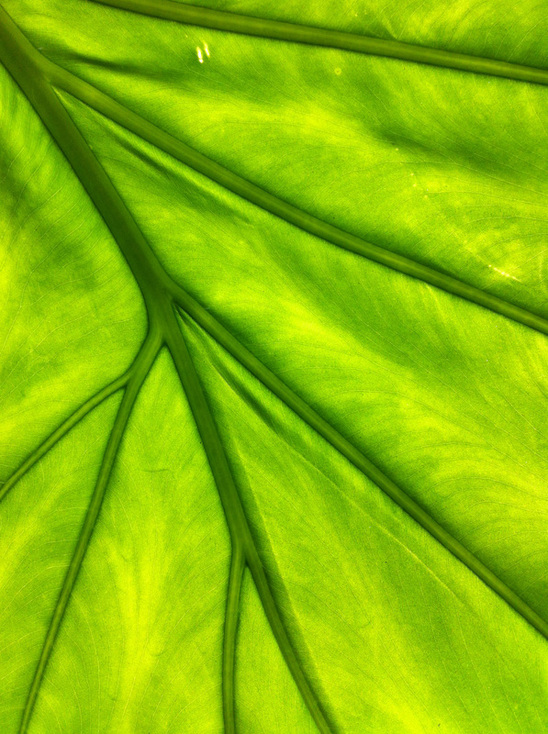
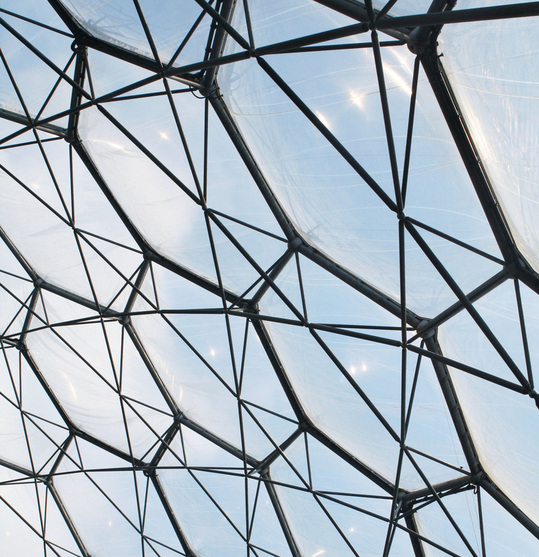
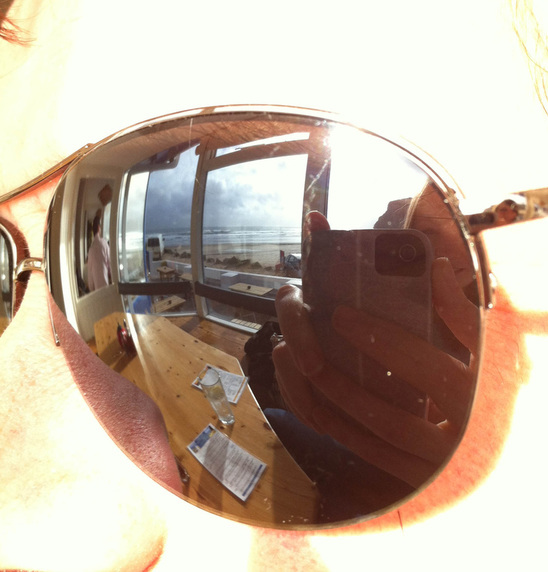
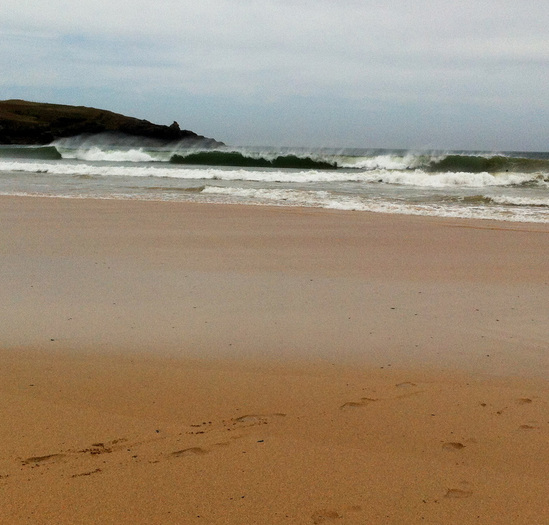
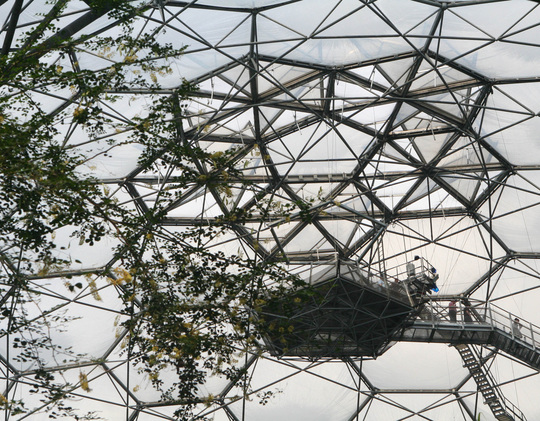
Next request on the list - banners! As per usual, I came up with a flurry of ideas for the Client to pick from. I've just come back after a week of rural enforced radio silence in beautiful Springtime Cornwall. Part of the reason for the trip was to teach a Food Photography Workshop for The Hedgecombers, which was great fun. The rest of the time was spent soaking up the sun, beach bbqs of steak and roast veg, surfing, visiting a captive rainforest (less mosquitos than the Amazon - win!) and generally unwinding. Oh and a touch of sunburn. I know I'm sufficiently pasty, no pun intended, to singe in April, yet it takes me by surprise every year.
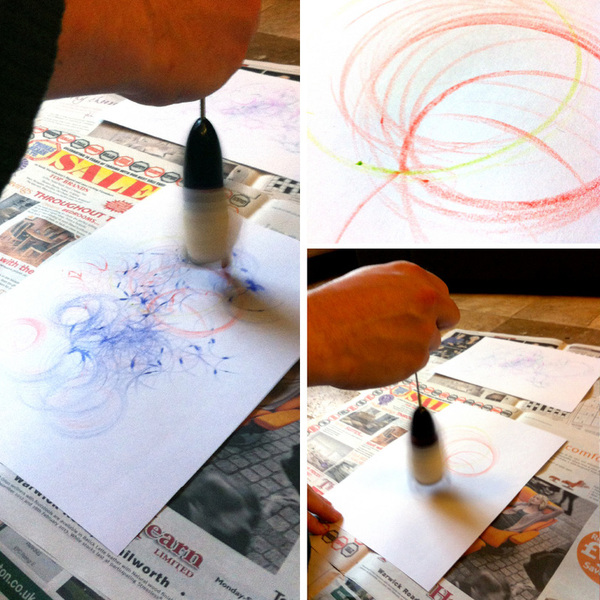
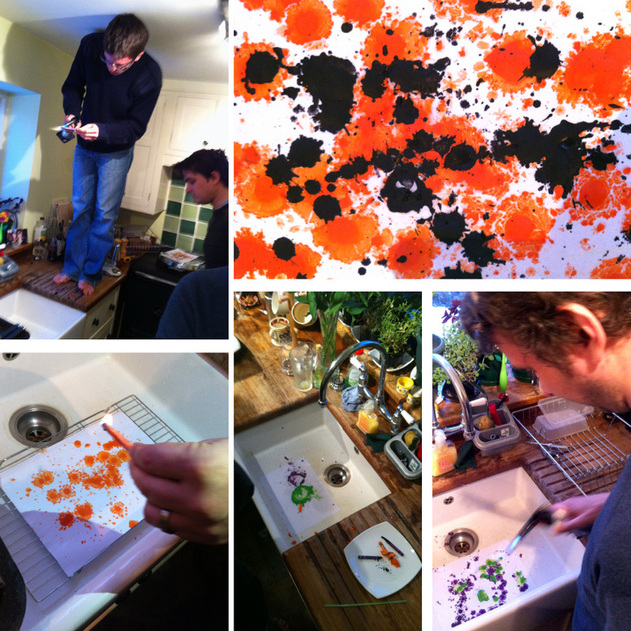
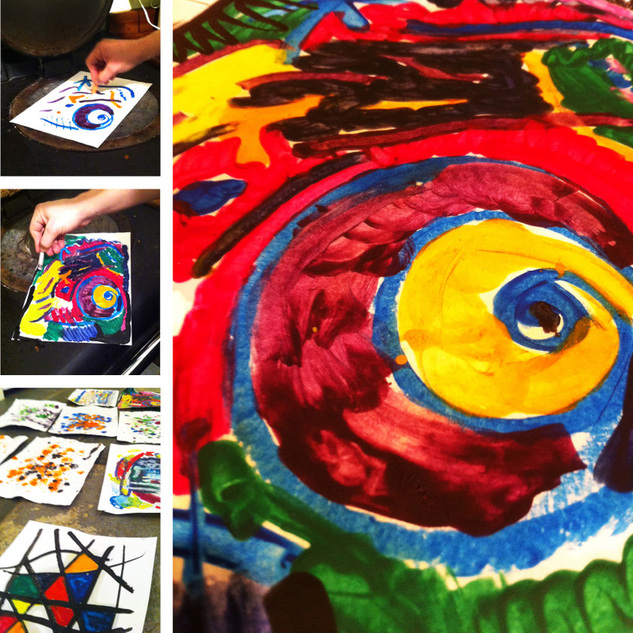
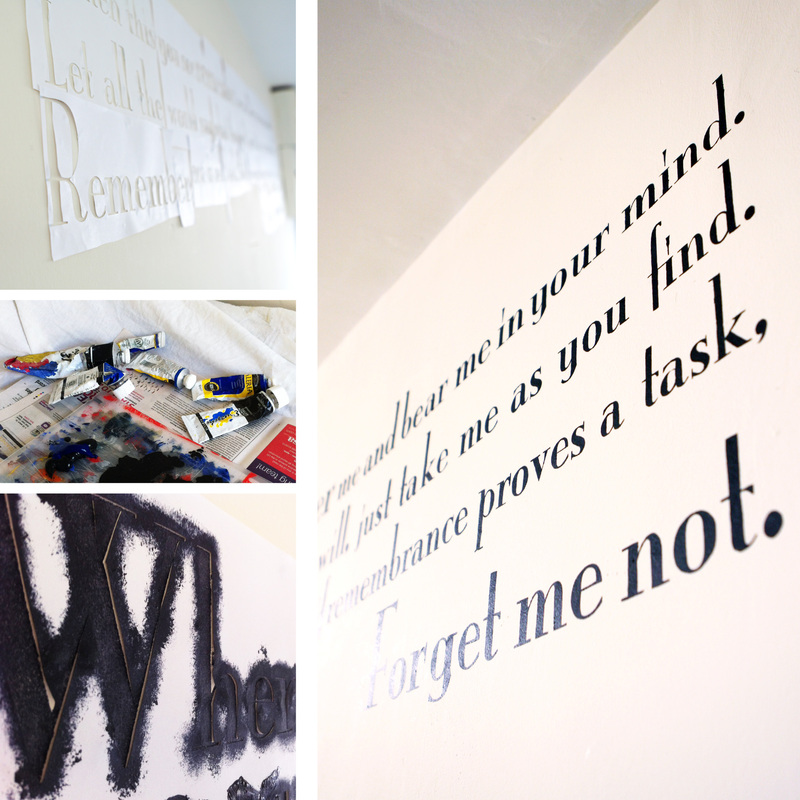
The Hedgecombers had this to say about it: Thank you! Thank you! Thank you! SO much for yesterday! It was just what I needed, and I feel so much more in control of my camera and pictures now. Your teaching style is awesome, and you clearly know & understand your subject perfectly, as you can put it across in real simple terms. Thanks again Kate xx If you have any workshop requirements, drop me a line - I love a one-to-one learning sesh! Just spent a rather marvellous snowy weekend with mates, just relaxing, eating, drinking, rediscovering Thunderbirds, and pushing the limits of crayons... First up, sticking them to a coffee frother to replicate old school Spirographs. Uncanny, no? Next we considered involving heat, and things started to get fun! I spose I should say, don't try this at home or without grown up paws helping and all that jazz, but meh! My bro has a mini blowtorch for "cooking." It also works really well melting crayons- either by setting the paper wrapper on fire and letting the wax drip, or shaving crayons with a knife (if you're going to make art dangerous, you may as well do it properly!) and melting the shavings directly onto a well water-soaked piece of paper. We also used a hairdryer to melt the crayons directly in a slightly less dramatic fashion. Finally we used the Aga hot plate as a toasty desk, and drew onto paper resting onto it. It's amazing how painterly the melted crayons looked. Definitely recommend for punchy colour fun. Not that bambinos are on the horizon yet, but I like to think that when they do appear, we'll find plenty of hands on fun things to do like this weekend. Maybe swapping wine for non-fermented fruits... And maybe less fire, maybe... Polished off a sign writing commission yesterday.
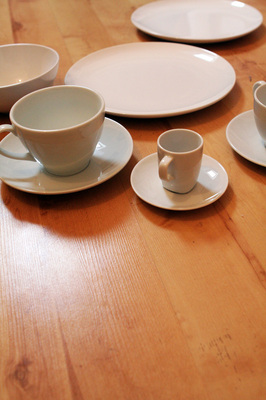
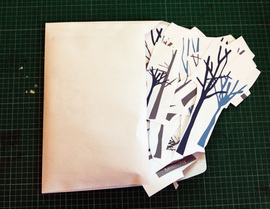
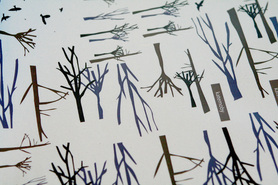
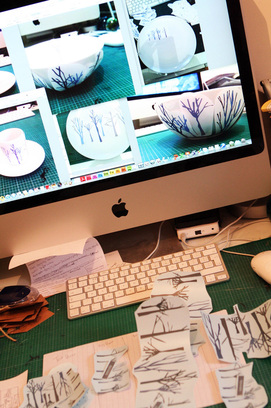
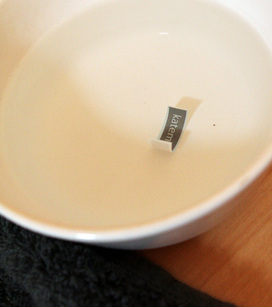
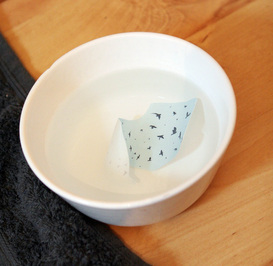
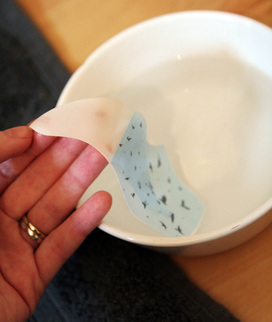
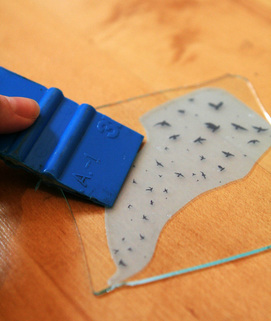
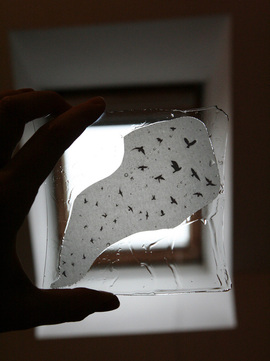
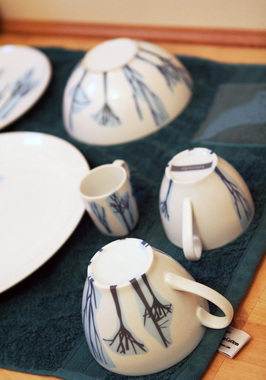
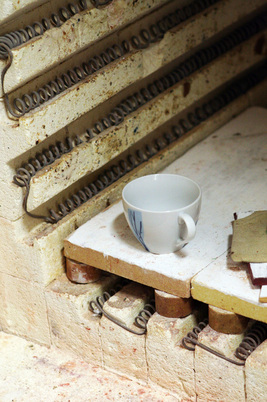
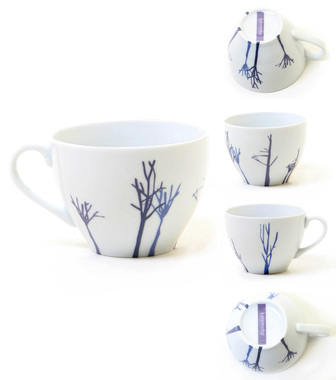
I've done plenty of these before, but always on actual signs, so if they went wrong I could just hide them. Here the only solutions to messing up were either a huge can of Magnolia, or burning the shop down, depending on how melodramatic I was feeling... Thankfully neither was necessary as I was quite pleased how the poem came out for The Banyan Tree, Brackley. I ache today though! I promised a how-to guide for the teacup I previewed early, so here it is! (If you can't be bothered to read it all, basically you get your pictures printed, get em in water, put em on stuff and get em hot. Not tricky.) Step One Buy your blank ceramics. For test pieces I just bought a selection from a popular blue and yellow Swedish establishment. For my "proper" ones, I hope to get them made by a potter so there are no nasty copyright issues! For home use I'm sure Ikea don't mind. Step Two Decide on your designs. To get my head around this I printed lots of different bits and bobs onto scrap paper and blue tacked them to the china, helpful for 3D thinking! I also had the good sense to take photos on my phone of the different arrangements so that I could remember them all! Step Three Arrange a sheet of your chosen designs. I use a combo of hand drawn work, edited and arranged with Photoshop and Illustrator. Mostly because I'm tight and wanted to cram as much on one A3 sheet as possible! Send your sheet to a digital ceramic printer (like normal printers, but instead of ink the cartridges are full of ceramic toner.) I used these guys, mainly as there were no minimum order requirements. If you happen to find a brilliant one, please let me know! Sometimes the transfers are also called ceramic decals, incase you're not finding what you need. Step Four Using a pair of scissors or a scalpel, cut out all your lovely shapes and pictures. Here the earlier phone pics came in useful to remember which shape went with what item. If you're more of a "let's just see what happens" kind of crazy individual, you could always wing it and see what you come up with! Step Five Put your transfers one at a time into lukewarm water. They curled up, which slightly alarmed me, but thankfully not in the manner of cling film (which I'm pretty sure hates me, but that's another matter...) Leave them about 20 seconds, and the backing paper should start to separate from the actual transfer with the lightest rub. They seem fairly robust, but I wouldn't throw them around. Step Six Using a combination of a dry tea towel and a squeegee, put your transfers onto your chosen piece (I thought I'd be a renegade and see if some worked on glass. Turns out, yes!) The aim here is just to get rid of all the air bubbles and creases, as this will affect your final finish. Step 7 Once all your transfers have been put in place and flattened properly, leave them to dry for at least 6 hours, but ideally overnight. Don't touch them. No, not even a little bit. The blue around all the images was just the colour of paper from my particular ceramic printer - it burns up without affecting the final image, phew. Step Eight Find a friendly potter with a kiln that they don't mind you sneaking pieces into for a small fee:) I can recommend local art colleges like here for this, good luck in your search! I ran several test pieces to fine tune the temperature required, but most transfers come with firing guidelines. Step Nine
Wait till the kiln is cool enough to break in and fall in love with just how cool your pictures look on ceramics. It's addictive, I warn you! A bit to catch up on, it's a been a hectic few months...
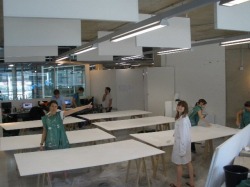
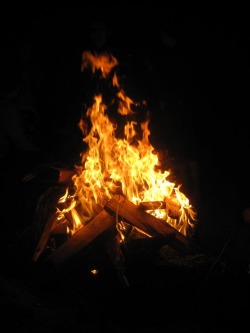
Final show, I'm not putting up the mandatory embarrassing "stand by your show while we take pictures" pictures! It all went fairly smoothly, finished off with a fire and bbq on the beach. Mint. |
Archives
April 2024
Categories
All
disclosure
If my blog links take you to external websites, I may be receiving a commission for sharing these products. However, please know that all my reviews are my own thoughts and a true representation, and I would never share anything that I wouldn't or haven't personally used or enjoyed.
|








 RSS Feed