|
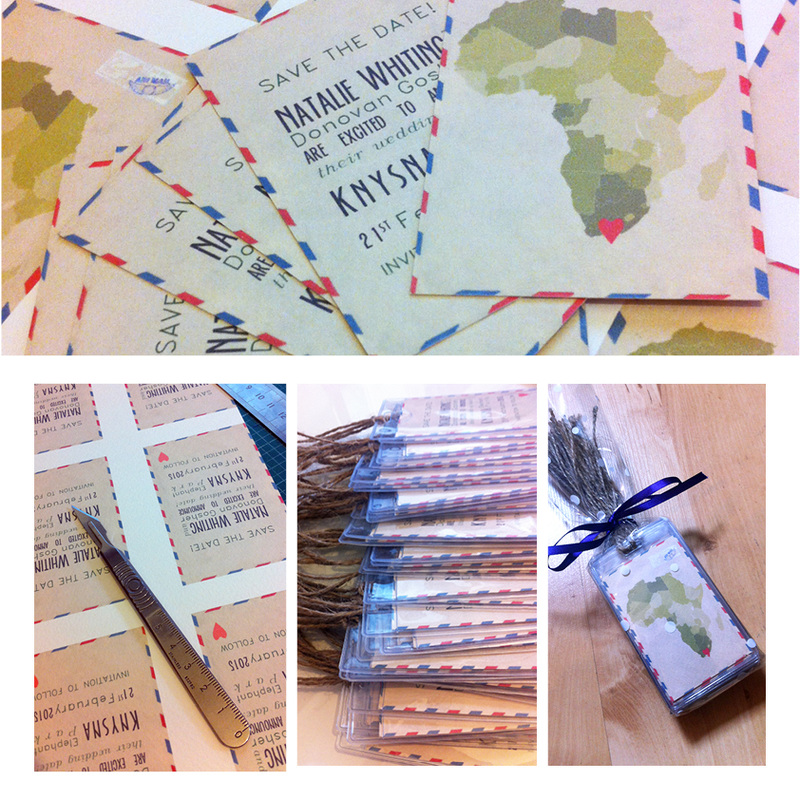
A lovely couple getting married in a South African Elephant Park (AMAZING!) asked me to design some vintage luggage tag style Save The Dates for their big day.
But of course!
0 Comments
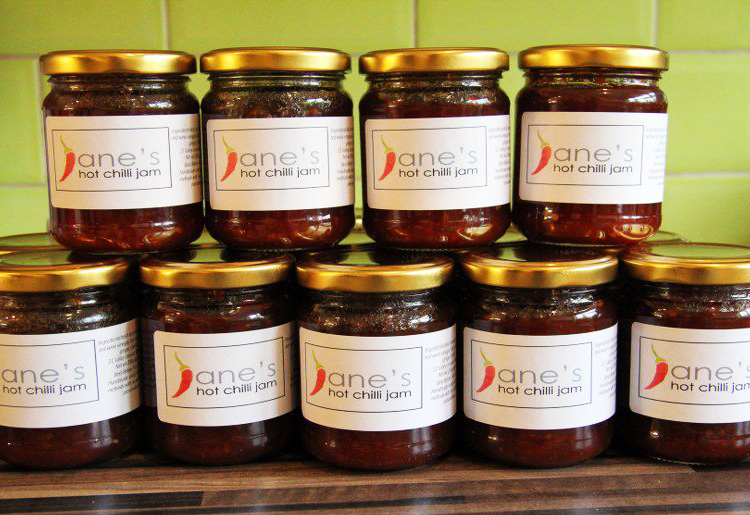
Back in January I worked on a logo for a new preserve company. You can see the full story here. Production has started, and I spotted a photograph of the final design in situ on the product. One of my favourite parts of what I do - assisting to help businesses realise their goal. Image courtesy of Jane's Chilli Farm.
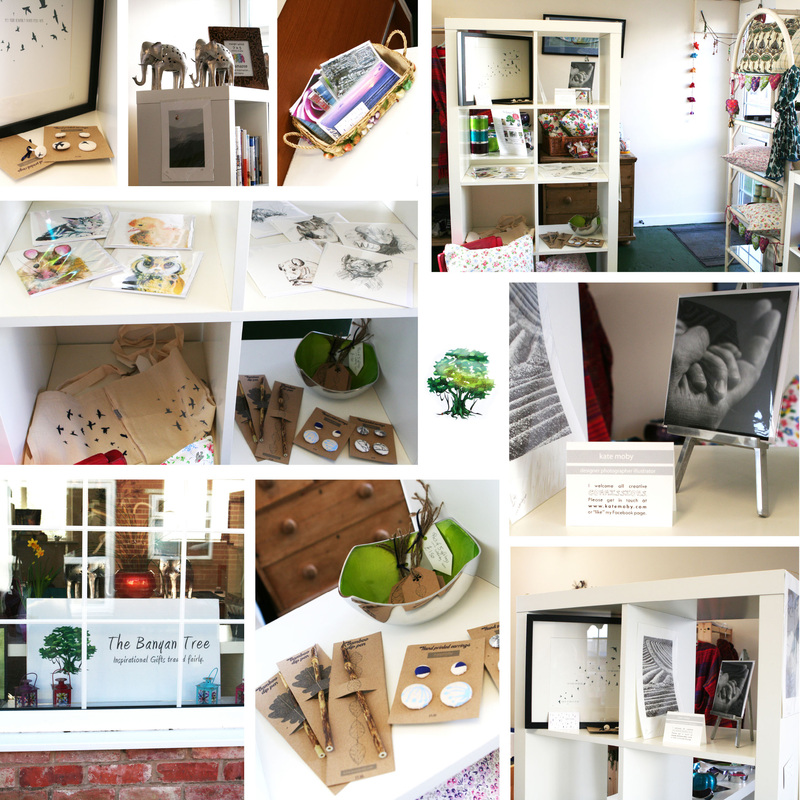
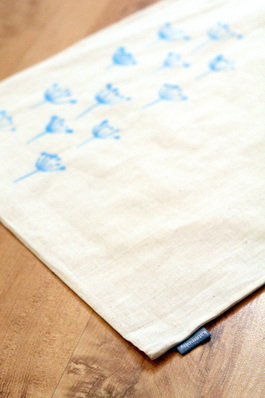
The Banyan Tree in Brackley - home of Fair Trade products and artisan crafts. Plus now some illustrated and photographic cards and hand printed fabric Kate Moby goods. Yay! Plus they are connected to some pretty exciting workshop news coming soon... Watch this space!
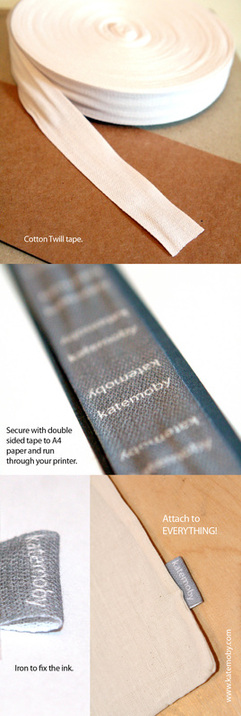
A wee while ago, I wrote a screen print tutorial and a fabric label how-to to help out fellow crafters. In a brazen attempt for people to find me on the big wide world of the internet, I've created some "pinterest" style versions, pared down to be as simple as possible. Repin away!
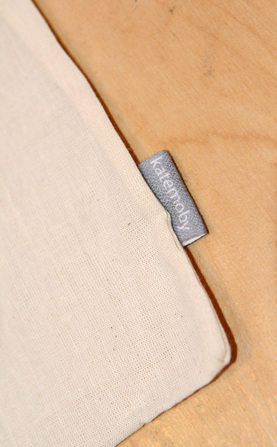
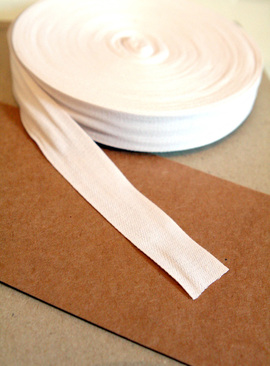
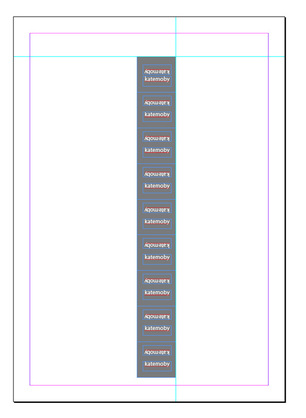
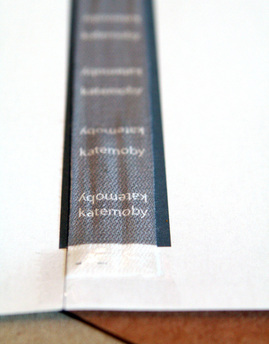
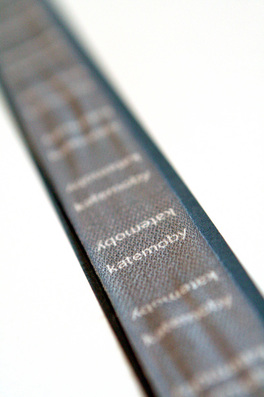
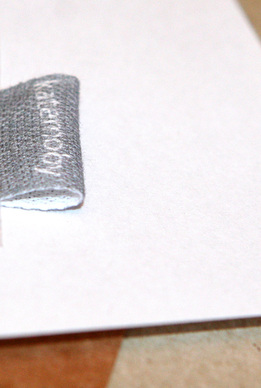
As part of my new product investigation, which hopefully will be coming soon, I wanted to produce fabric labels to be attached to textile objects like cushions, bags, purses etc. I was pretty chuffed that they worked out so well, so I thought I'd spread the love with this little how to tutorial... Step One I bought fabric tape in white from the land of the internet (eBay) that was wide enough for the design I had in mind. In my case, this was 25mm, so the edges of my labels always look neat and don't require any time consuming stitching etc. Step Two Using Indesign, I created a repeated design of my labels. On the first take I included my website, but this was far too finely detailed for the fabric to cope with, so I ended up keeping it simple and legible. The great thing about Indesign is that it's very controllable to the tiniest measurement, allowing for plenty of fine tuning in the printing stage. Whilst designing, you might want to consider making your design larger than the ribbon width to allow for some wiggle room in the printing stage. As my labels are going to be looped over, each individual label has text upside down as well as right side up. Step Three Next I used normal sticking tape to attach the ribbon at both ends to a piece of normal A4 paper. For extra security I put some double sided tape underneath the ribbon to make sure it was really secure and straight. Then I hit print! (Please note this is a tiny bit of a gamble, and I take no responsibility if your printer chews it up and spits it out in a huff...) It took a few takes of fine tuning to work out the exact millimetre placement of the ribbon to make it repeatable and guaranteed, so it's worth not cutting a really long piece first time. Having an understanding of which way round your printer feeds really helps with this! Step Four The fabric is fairly damp with ink when it first shoots out, so I let mine dry for a good hour, and then ironed it very thoroughly to make the ink set. Again, the success of this depends on your printer and the ink you use - it's definitely worth doing a test piece and washing it to check your ink will stay to avoid heartache! Then it's just a case of cutting up your labels, folding them and stitching them to anything and everything your heart desires! Good luck! Let me know how you get on!
|
Archives
April 2024
Categories
All
disclosure
If my blog links take you to external websites, I may be receiving a commission for sharing these products. However, please know that all my reviews are my own thoughts and a true representation, and I would never share anything that I wouldn't or haven't personally used or enjoyed.
|


 RSS Feed