|
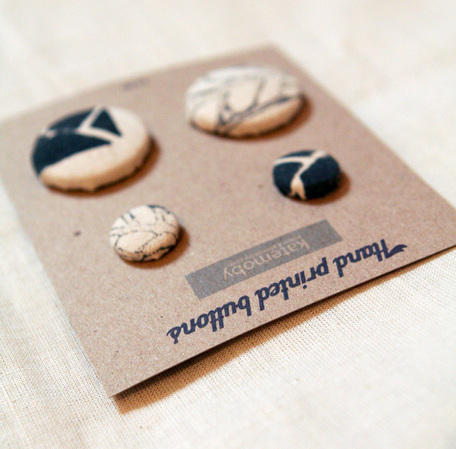
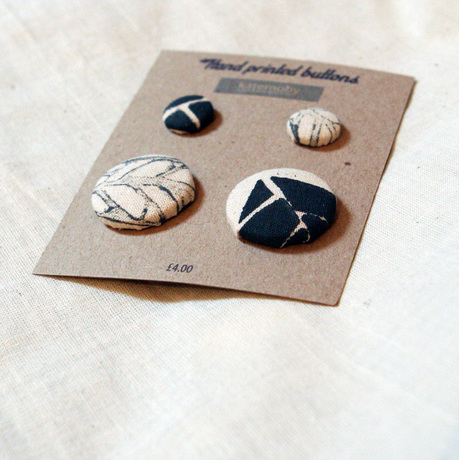
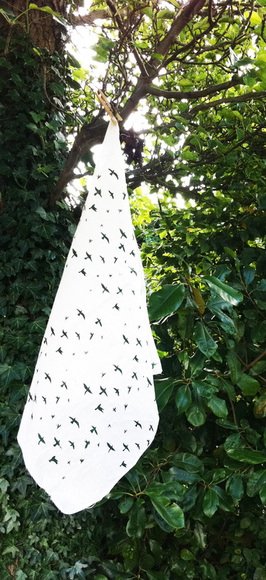
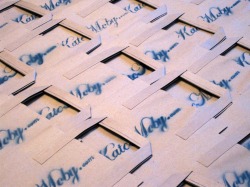
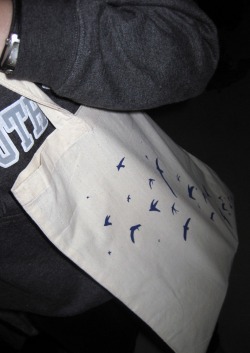
I've been dabbling with screen and lino printing new designs onto fabric (more of which will be coming soon!) This has generated a lovely pile of pattern fragments, which were crying out to be loved. So, ta-da, here are the very first Kate Moby buttons! My button maker may be my new favourite thing ever. If you agree, pop to the shop! So far sets are available in grey and blue.
0 Comments
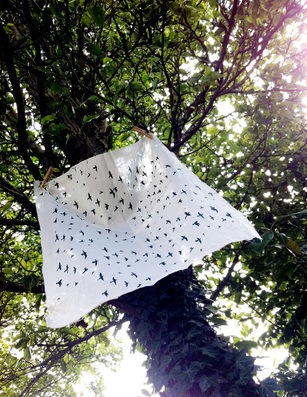
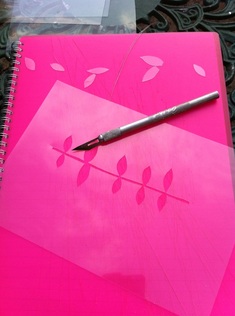
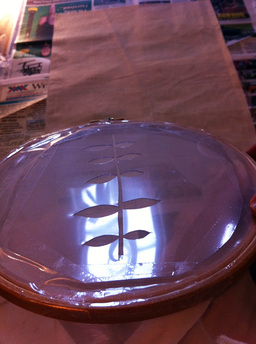
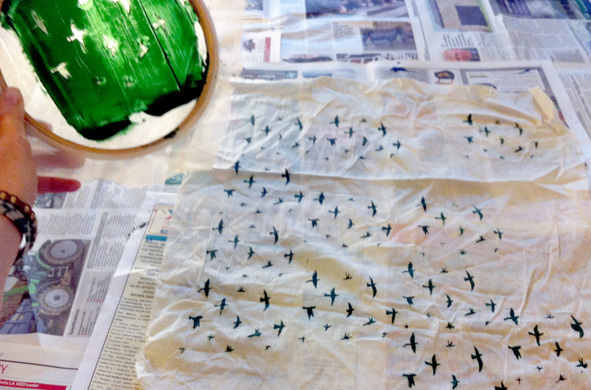
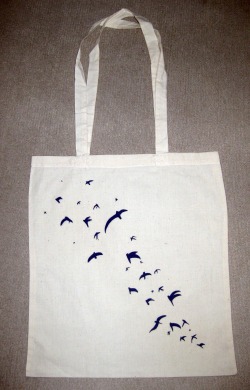
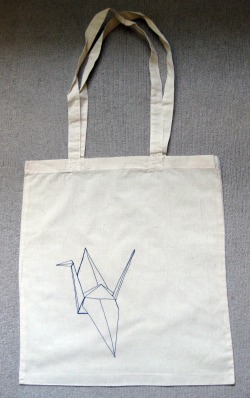
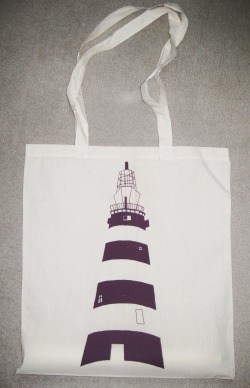
I've been toying with the idea lately of developing some fabric and ceramic ranges, which would showcase illustrated surface pattern. I came to the conclusion that to make it look the tiniest bit convincing, I'd have to figure out a reliable screen printing method to make a few samples... So I did a bit of internet trawling and thought I'd give it a go! Step 1 - Decide on your pattern I scrawled a few designs down which varied in complexity and size so as to work out what the limits of home screen printing might be... Step 2 - Cut them out of acetate Depending on how handy you are, a scalpel or scissors might suit you best. For me, scissors are my friend. I also read about other methods of creating your "stencil" - painting PVA glue or latex paint onto organza (the same organza as Step 3.) If you try any other methods, be sure to let me know how it goes! Step 3 - Make your screen I bought an embroidery hoop that was larger than all my designs, and some organza fabric from the wonderful people of Bicester Village Fabrics who couldn't have been more helpful! I put the organza into the embroidery hoop and secured it so that it was tight as a drum. You could also buy a picture frame from a charity shop and staple gun that bad boy. I went for the hoop for size and adjustability reasons (also, if it was a horrible failure I could just take the organza out and bury it.) Again, let me know if you try other methods, I'd love to hear from you! Step 4 - Attach your acetate to your screen. Using sellotape, I attached my acetate to the face of the screen that would be between the organza and the fabric/paper/glass you want to print onto - i.e. the face where the organza is flush to the wooden hoop. I then filled in all gaps around the acetate with sellotape so that there was no chance any pesky ink could get where it wasn't wanted. Step 5 - Print like a machine. Putting your prepared screen onto the surface you want to print onto. For me this was pieces of cloth like calico and cotton. Keep your screen still, whether this be by weights or a friendly pair of hands. If it shifts whilst you're printing you'll get a smudged or echoed image. Bad times. Using fabric paint or whatever you fancy trying, put a small line on the acetate above your design. Using an old credit card or other kind of spreading device, pull the paint down firmly - it should get through the holes in your acetate and nothing else, leaving a perfect stencil! Repeat as desired and absorb the adoration. Then clean up. A few notes: If you're doing a repeat pattern where your hoop will cover over previously printed areas, be careful to let it dry first or you'll get a smudgy mess.
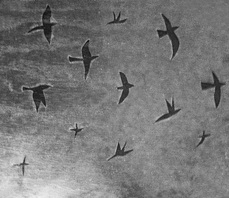
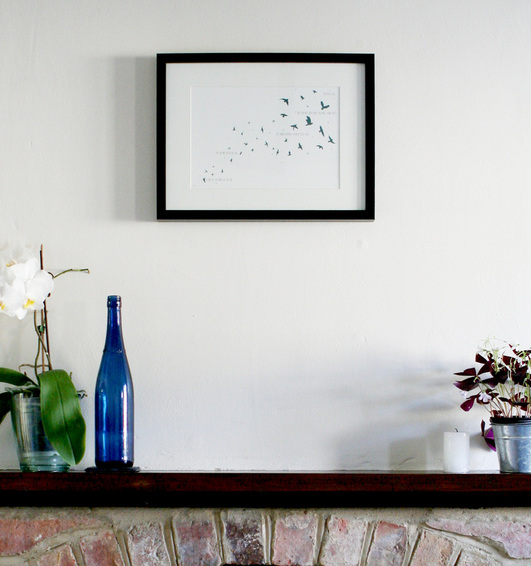
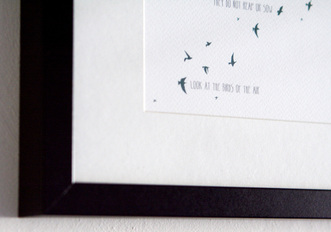
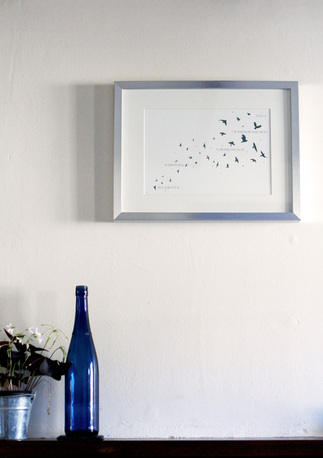
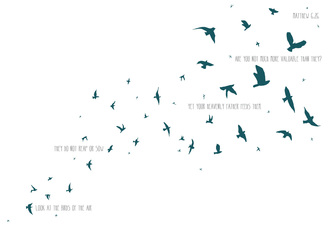
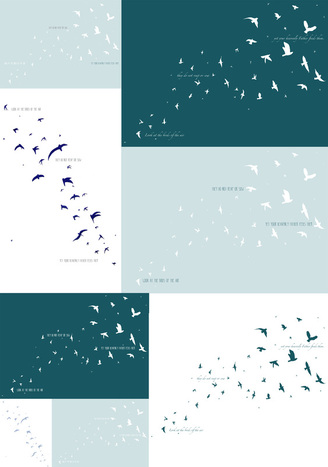
For my first take I used Dylon fabric paint, which I found to be too runny and seeped under the stencil. I had best results with standard Acrylic paint, which I ironed once dry to set (in between some old sheets so that my iron didn't go green.) I'll let you know if it is wash proof! My bet is yes, I can never jolly get it off my clothes when it's got there by mistake! I think that I'll invest in some proper inks soon, probably from these nice people. If you have a go at this, I would love to hear from you! Happy printing! I was contacted to create a bespoke framed print, incorporating flying birds and the comforting words of Matthew's Gospel: "Look at the birds of the air; they do not sow or reap, yet your heavenly Father feeds them. Are you not much more valuable than they?" Below are different colour, format and font options I sent through for her to choose from. A lovely idea I thought, some of you might get the same thing for Christmas...
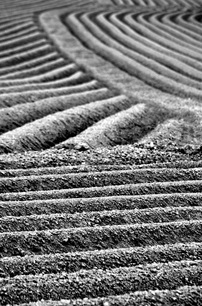
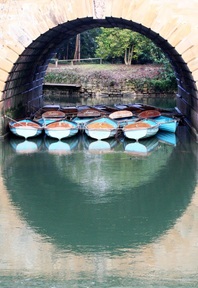
I thought I’d get to know my new area better by driving around looking for lovely things to take pictures of for Four Shires Magazine, as they asked so nicely.
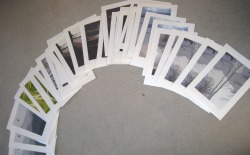
Your portfolio is very diverse and the shots are exceptionally eye catching. You are most certainly talented. Blushing, I discovered furrowed farm land, Oxford Botanical Gardens, punts on the River Thames, fallen trees in hidden woodland and some lovely countryside… So can you in the March 2011 edition. For the last few weeks, my housemate and I have been frantically creating work for an art fair in Torquay. Turns out we needn't have rushed, it's been postponed because of the nightmare weather last weekend, twas a trifle soggy... Here are a few pics of the preparation procedures! All products are available to buy, please use the contact form on the home page for enquiries. Let's hope we are more successful this weekend!
|
Archives
April 2024
Categories
All
disclosure
If my blog links take you to external websites, I may be receiving a commission for sharing these products. However, please know that all my reviews are my own thoughts and a true representation, and I would never share anything that I wouldn't or haven't personally used or enjoyed.
|


 RSS Feed