|
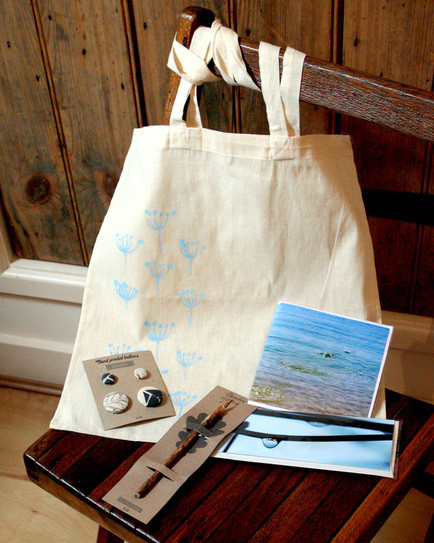
Here is the bundle winging its way to the lucky winner of my birthday inspired giveaway. Sad to have missed out? I'm sure there will be another chance in the future - it's nearly Christmas after all! If you can't wait that long, everything is available in my shop. Details: Hand printed Tote Bag - Hedgerow Seeds in Summer Sky
Water Droplets Panoramic Greetings Card Scilly Skipping Stones Square Greetings Card Thin Bamboo Dip Pen Hand printed Buttons - Grey Collection
0 Comments
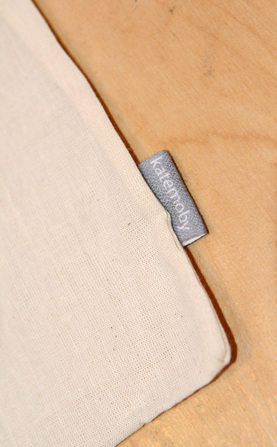
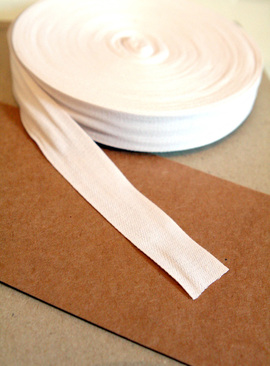
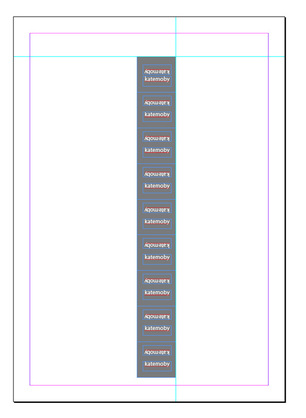
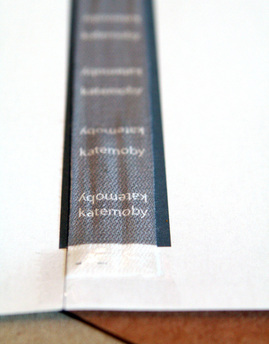
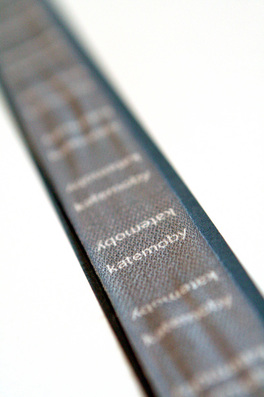
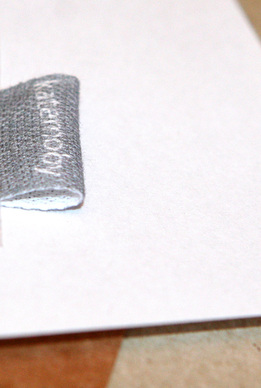
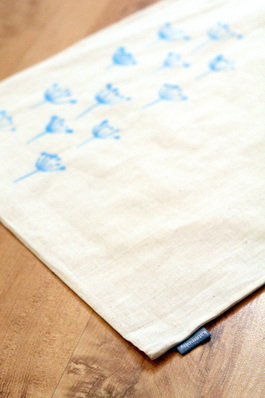
As part of my new product investigation, which hopefully will be coming soon, I wanted to produce fabric labels to be attached to textile objects like cushions, bags, purses etc. I was pretty chuffed that they worked out so well, so I thought I'd spread the love with this little how to tutorial... Step One I bought fabric tape in white from the land of the internet (eBay) that was wide enough for the design I had in mind. In my case, this was 25mm, so the edges of my labels always look neat and don't require any time consuming stitching etc. Step Two Using Indesign, I created a repeated design of my labels. On the first take I included my website, but this was far too finely detailed for the fabric to cope with, so I ended up keeping it simple and legible. The great thing about Indesign is that it's very controllable to the tiniest measurement, allowing for plenty of fine tuning in the printing stage. Whilst designing, you might want to consider making your design larger than the ribbon width to allow for some wiggle room in the printing stage. As my labels are going to be looped over, each individual label has text upside down as well as right side up. Step Three Next I used normal sticking tape to attach the ribbon at both ends to a piece of normal A4 paper. For extra security I put some double sided tape underneath the ribbon to make sure it was really secure and straight. Then I hit print! (Please note this is a tiny bit of a gamble, and I take no responsibility if your printer chews it up and spits it out in a huff...) It took a few takes of fine tuning to work out the exact millimetre placement of the ribbon to make it repeatable and guaranteed, so it's worth not cutting a really long piece first time. Having an understanding of which way round your printer feeds really helps with this! Step Four The fabric is fairly damp with ink when it first shoots out, so I let mine dry for a good hour, and then ironed it very thoroughly to make the ink set. Again, the success of this depends on your printer and the ink you use - it's definitely worth doing a test piece and washing it to check your ink will stay to avoid heartache! Then it's just a case of cutting up your labels, folding them and stitching them to anything and everything your heart desires! Good luck! Let me know how you get on!
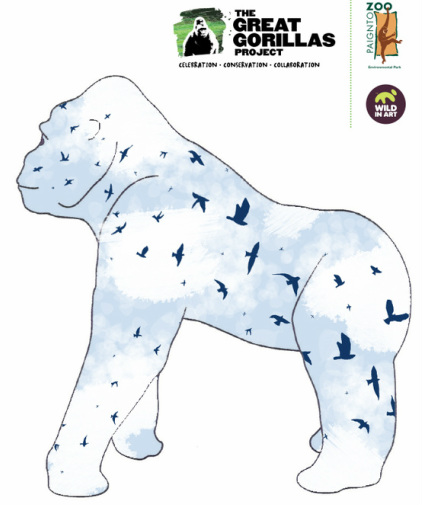
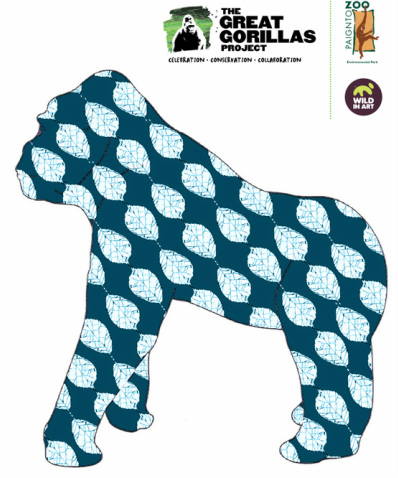
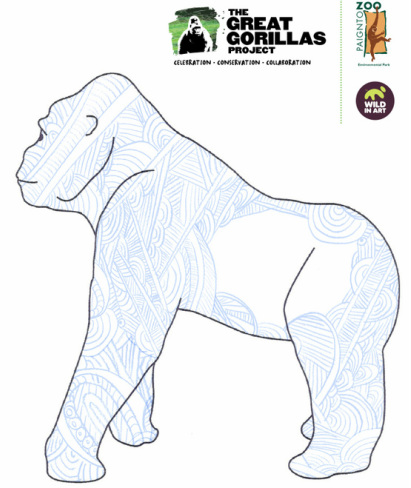
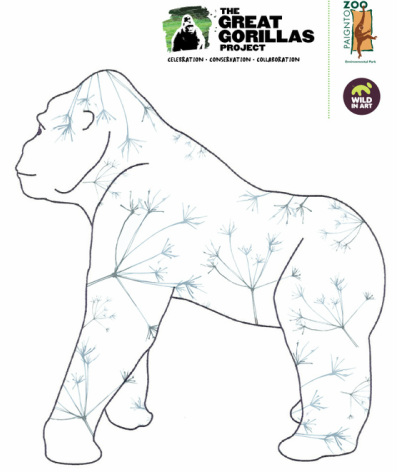
I was invited to submit some designs to be considered for Paignton's Zoo Gorilla Tour. Here is what I came up with, and frankly, I'd love to paint a massive gorilla! Fingers crossed... A summer sky, full of carefree swirling birds represent why we celebrate the natural world – it’s beautiful and vital to us. We lose when we don’t look after it. Gorillas have never taken the leap to wear leaves. This guy does. What might a gorilla look like if he moved out of the forest and tried to fit in about town? He’s a trendy fellow.
Swimming in the glow of all the wonderous birthday love, I've decided to stage a give away! FREE STUFF!
All you have to do is share my Facebook page or a favourite image on Facebook, and write on this post to say you've done it and you'll be automatically entered into the draw for a bundle of goodies... It'll be good stuff too! I'll notify the winner next week:) |
Archives
March 2024
Categories
All
disclosure
If my blog links take you to external websites, I may be receiving a commission for sharing these products. However, please know that all my reviews are my own thoughts and a true representation, and I would never share anything that I wouldn't or haven't personally used or enjoyed.
|

 RSS Feed