|
I'm super pleased to announce two new marvellous creative workshops that I'll be running in a lovely little craft premises in Brackley, Northhamptonshire. The Photography and Photoshop course is frankly a bargain at £100 - the only other similar one I found online to mine was triple the price. Space is limited to 5 people, first come first served. The full dates are : Weds 6th March 7pm-9pm Weds 13th March 7pm-9pm Weds 20th March 7pm-9pm Weds 27th March 7pm-9pm The Screen Printing workshop is at the same premises and is £45 for Saturday 16th March 1.30pm - 4.30pm. You'll head home with a tote bag or two with your own design printed on, and the knowledge of how to do it again using simple equipment found in your house! Limited to 4 people. Any further info required, please just holler! Now drum roll for the posters...  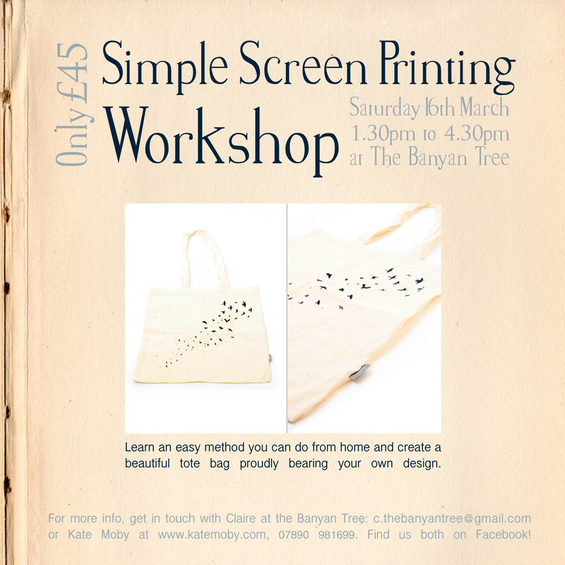
0 Comments
The Banyan Tree in Brackley - home of Fair Trade products and artisan crafts. Plus now some illustrated and photographic cards and hand printed fabric Kate Moby goods. Yay! 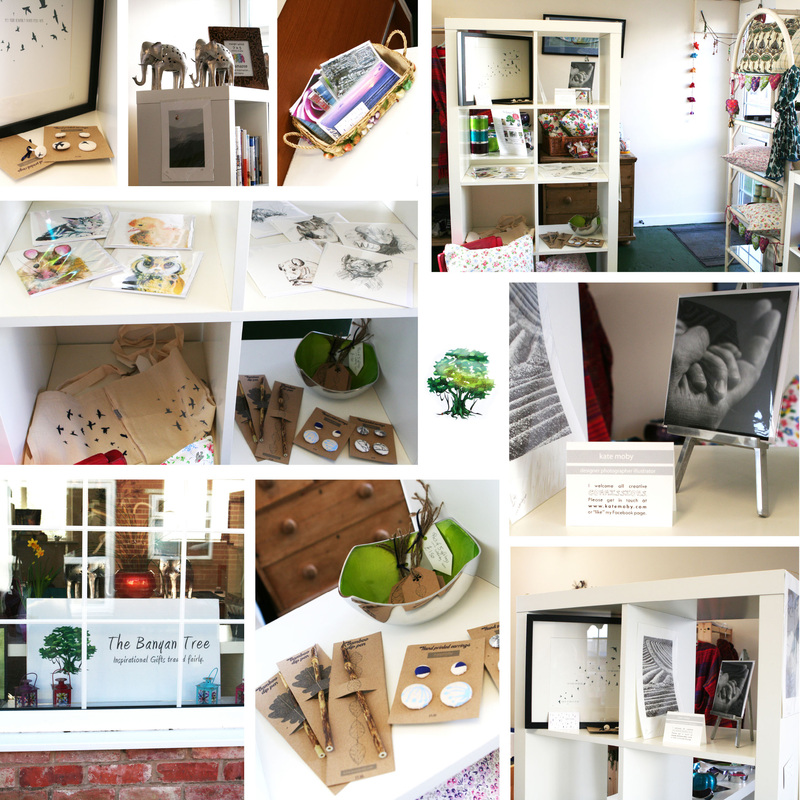
Plus they are connected to some pretty exciting workshop news coming soon... Watch this space!
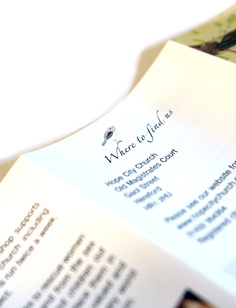
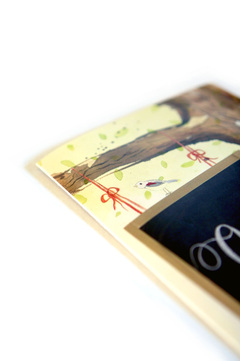
I enjoyed putting together a leaflet for these lovely people with illustration and photography to advertise their charity shop and coffee shop in Hereford City. Check it out here. Hopefully it'll help them generate some much deserved customers to raise money for the anti-trafficking charity The Freedom Project. If you look closely you'll notice it matches a poster I put together earlier in the year. 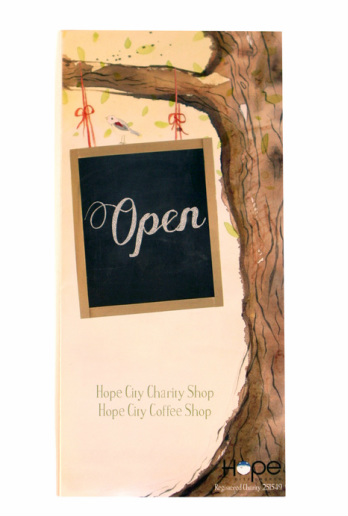
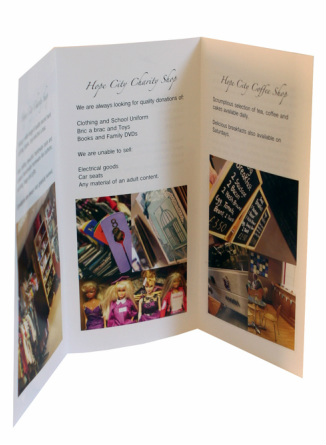
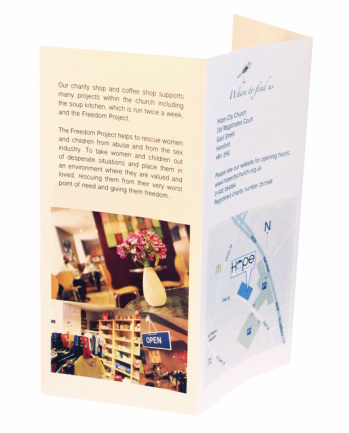
Oh and they're always looking for new donations, so if you get some things for Christmas that really aren't your cup of tea, here's a great place to pass them on, guilt free!
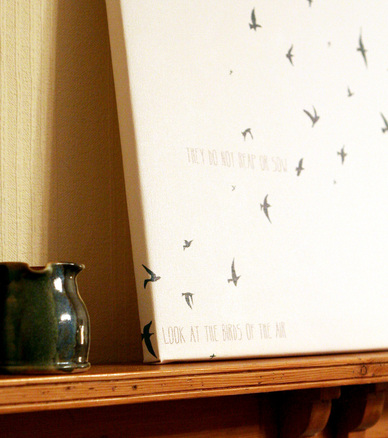
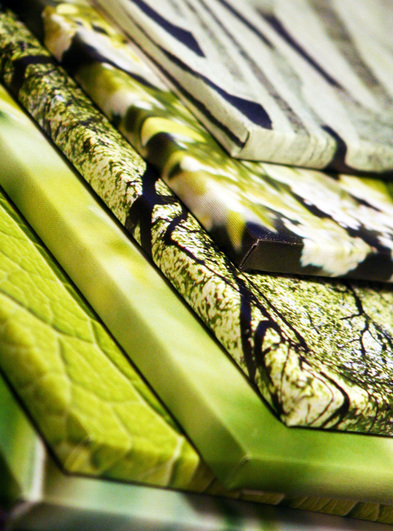
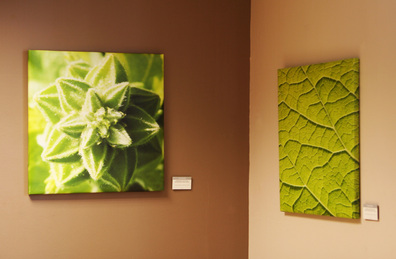
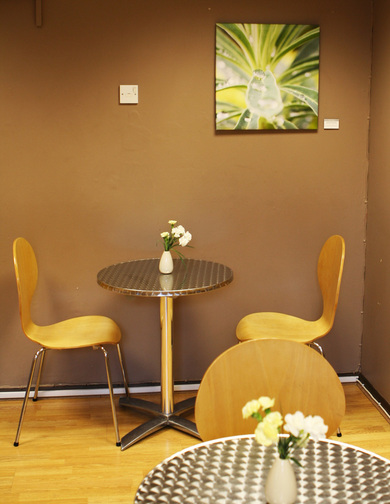
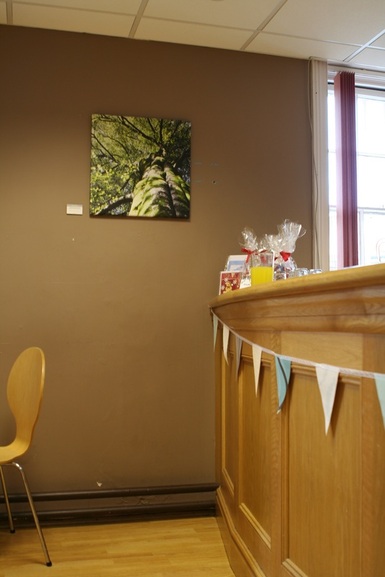
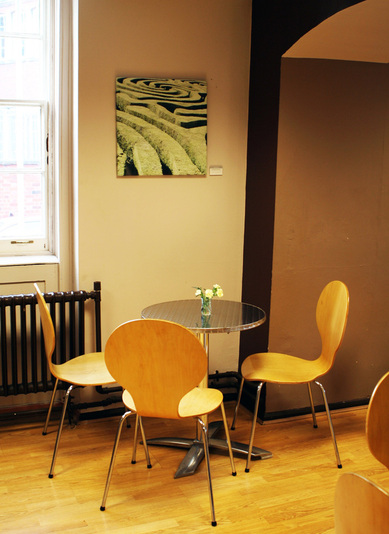
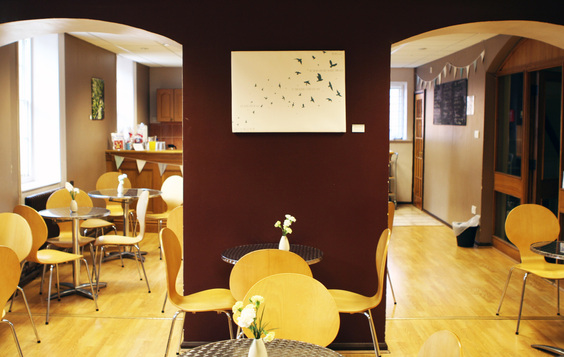
I was asked by these lovely people to design a matching range of photographs for their cafe. I've been itching to try out printing onto canvas for a while, courtesy of Iain Lilleystone, and had great fun making the wooden frames with my wonderful Daddio to stretch them over. I went for a green theme, and am rather chuffed with the final outcome, hopefully they are too! See them for yourself and let me know what you think! 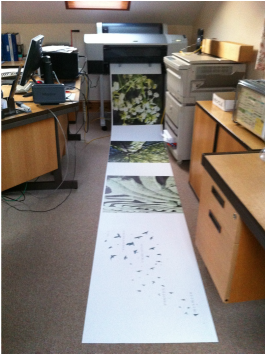

I've asked the lovely people of Granthams to print my charity photo cards, as I wasn't entirely happy with the photo finish in their current state. I'm chuffed to bits with how they've turned out! They're on 350gsm silk card, which for those non-technically minded, just means they're super lovely and extra sturdy. For those who placed orders before on the old paper, I'll send you your order of the new finish, just because:)  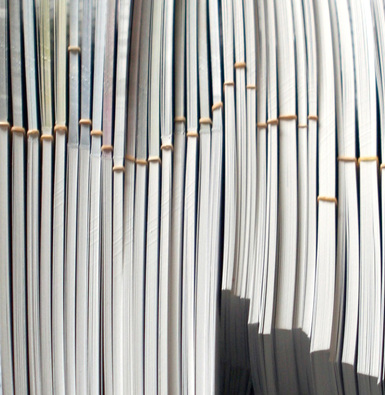 A sample piece of my new experimental ceramic range hot from the kiln! (Not literally obviously, that's be stoopid...) The full lot will be available shortly! Spoilers: I'm personally most excited by the espresso cup! 
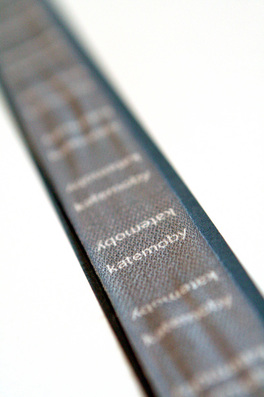
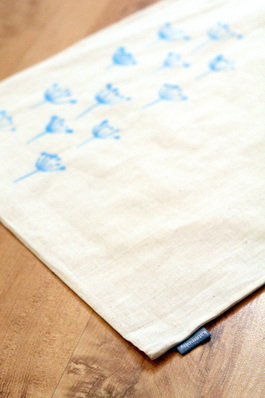
As part of my new product investigation, which hopefully will be coming soon, I wanted to produce fabric labels to be attached to textile objects like cushions, bags, purses etc. I was pretty chuffed that they worked out so well, so I thought I'd spread the love with this little how to tutorial... 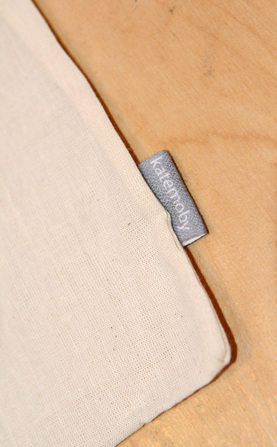
Step One I bought fabric tape in white from the land of the internet (eBay) that was wide enough for the design I had in mind. In my case, this was 25mm, so the edges of my labels always look neat and don't require any time consuming stitching etc. 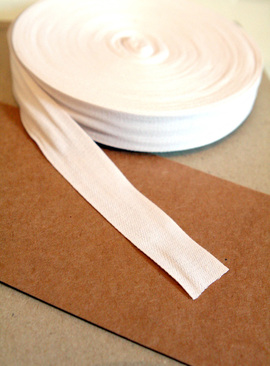
Step Two Using Indesign, I created a repeated design of my labels. On the first take I included my website, but this was far too finely detailed for the fabric to cope with, so I ended up keeping it simple and legible. The great thing about Indesign is that it's very controllable to the tiniest measurement, allowing for plenty of fine tuning in the printing stage. Whilst designing, you might want to consider making your design larger than the ribbon width to allow for some wiggle room in the printing stage. As my labels are going to be looped over, each individual label has text upside down as well as right side up. 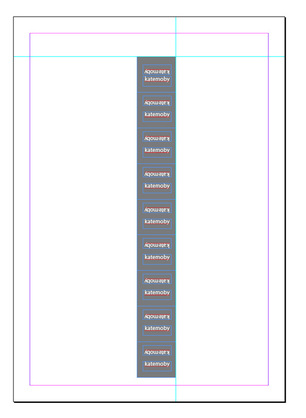
Step Three Next I used normal sticking tape to attach the ribbon at both ends to a piece of normal A4 paper. For extra security I put some double sided tape underneath the ribbon to make sure it was really secure and straight. Then I hit print! (Please note this is a tiny bit of a gamble, and I take no responsibility if your printer chews it up and spits it out in a huff...) It took a few takes of fine tuning to work out the exact millimetre placement of the ribbon to make it repeatable and guaranteed, so it's worth not cutting a really long piece first time. Having an understanding of which way round your printer feeds really helps with this! 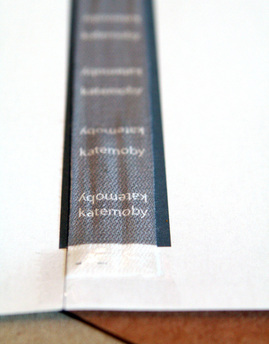
Step Four The fabric is fairly damp with ink when it first shoots out, so I let mine dry for a good hour, and then ironed it very thoroughly to make the ink set. Again, the success of this depends on your printer and the ink you use - it's definitely worth doing a test piece and washing it to check your ink will stay to avoid heartache! Then it's just a case of cutting up your labels, folding them and stitching them to anything and everything your heart desires! 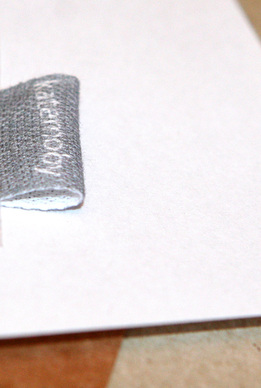
Good luck! Let me know how you get on!
I've made a whole new page on this wee site of mine for selling greetings cards with the sole aim of supporting charities. Currently, I've only set up an arrangement with one - The Freedom Project, which helps to rescue women and children from abuse and a life of trafficking. They restore them in every sense of the word (often involving surgery), and place them in an environment where they are valued and loved. So have a browse, receive something beautiful in the post, and know that someone somewhere is grateful. 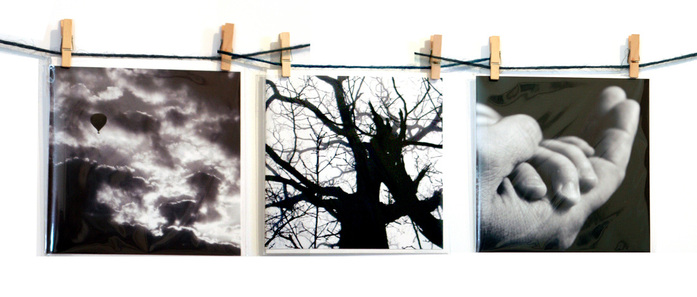  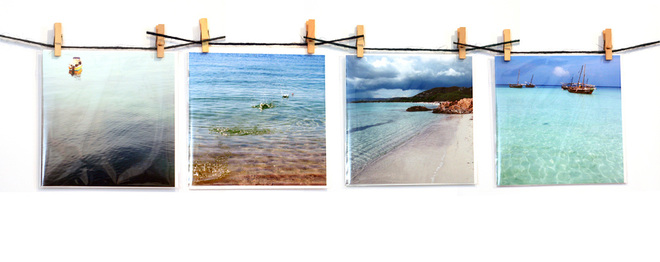 If you are a charity and would like to collaborate, I would love to hear from you. Please use the contact form to get in touch!
Today's my first day freelancing as a studio photographer for fashion company Miinto. Wish me luck! 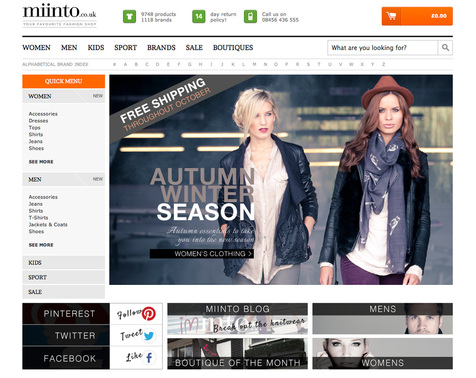 I've just got back from undertaking a spot of product photography, again for Handmade By Joey. Below are a selection of images of her lovely work, a handful of which I developed into business cards for her, printed by the lovely people of moo.   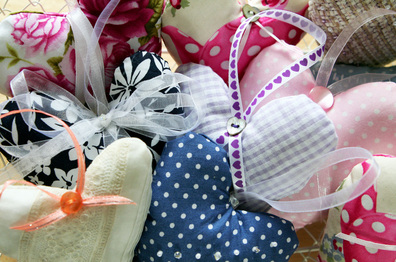 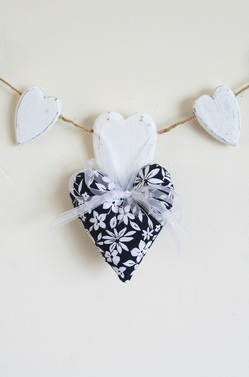 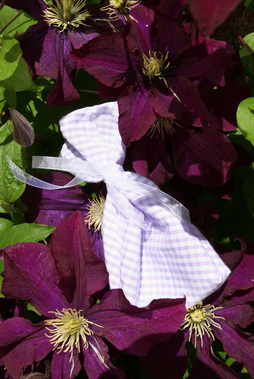 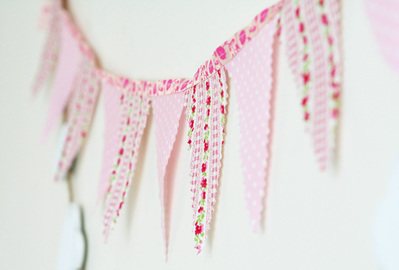 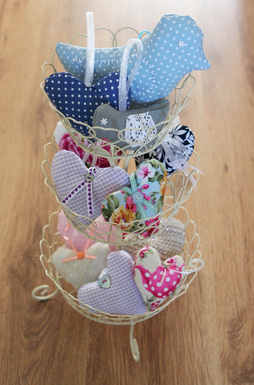 And the cards... 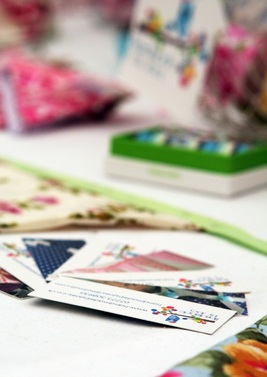 |
Archives
April 2024
Categories
All
disclosure
If my blog links take you to external websites, I may be receiving a commission for sharing these products. However, please know that all my reviews are my own thoughts and a true representation, and I would never share anything that I wouldn't or haven't personally used or enjoyed.
|
 RSS Feed